Article takeaways
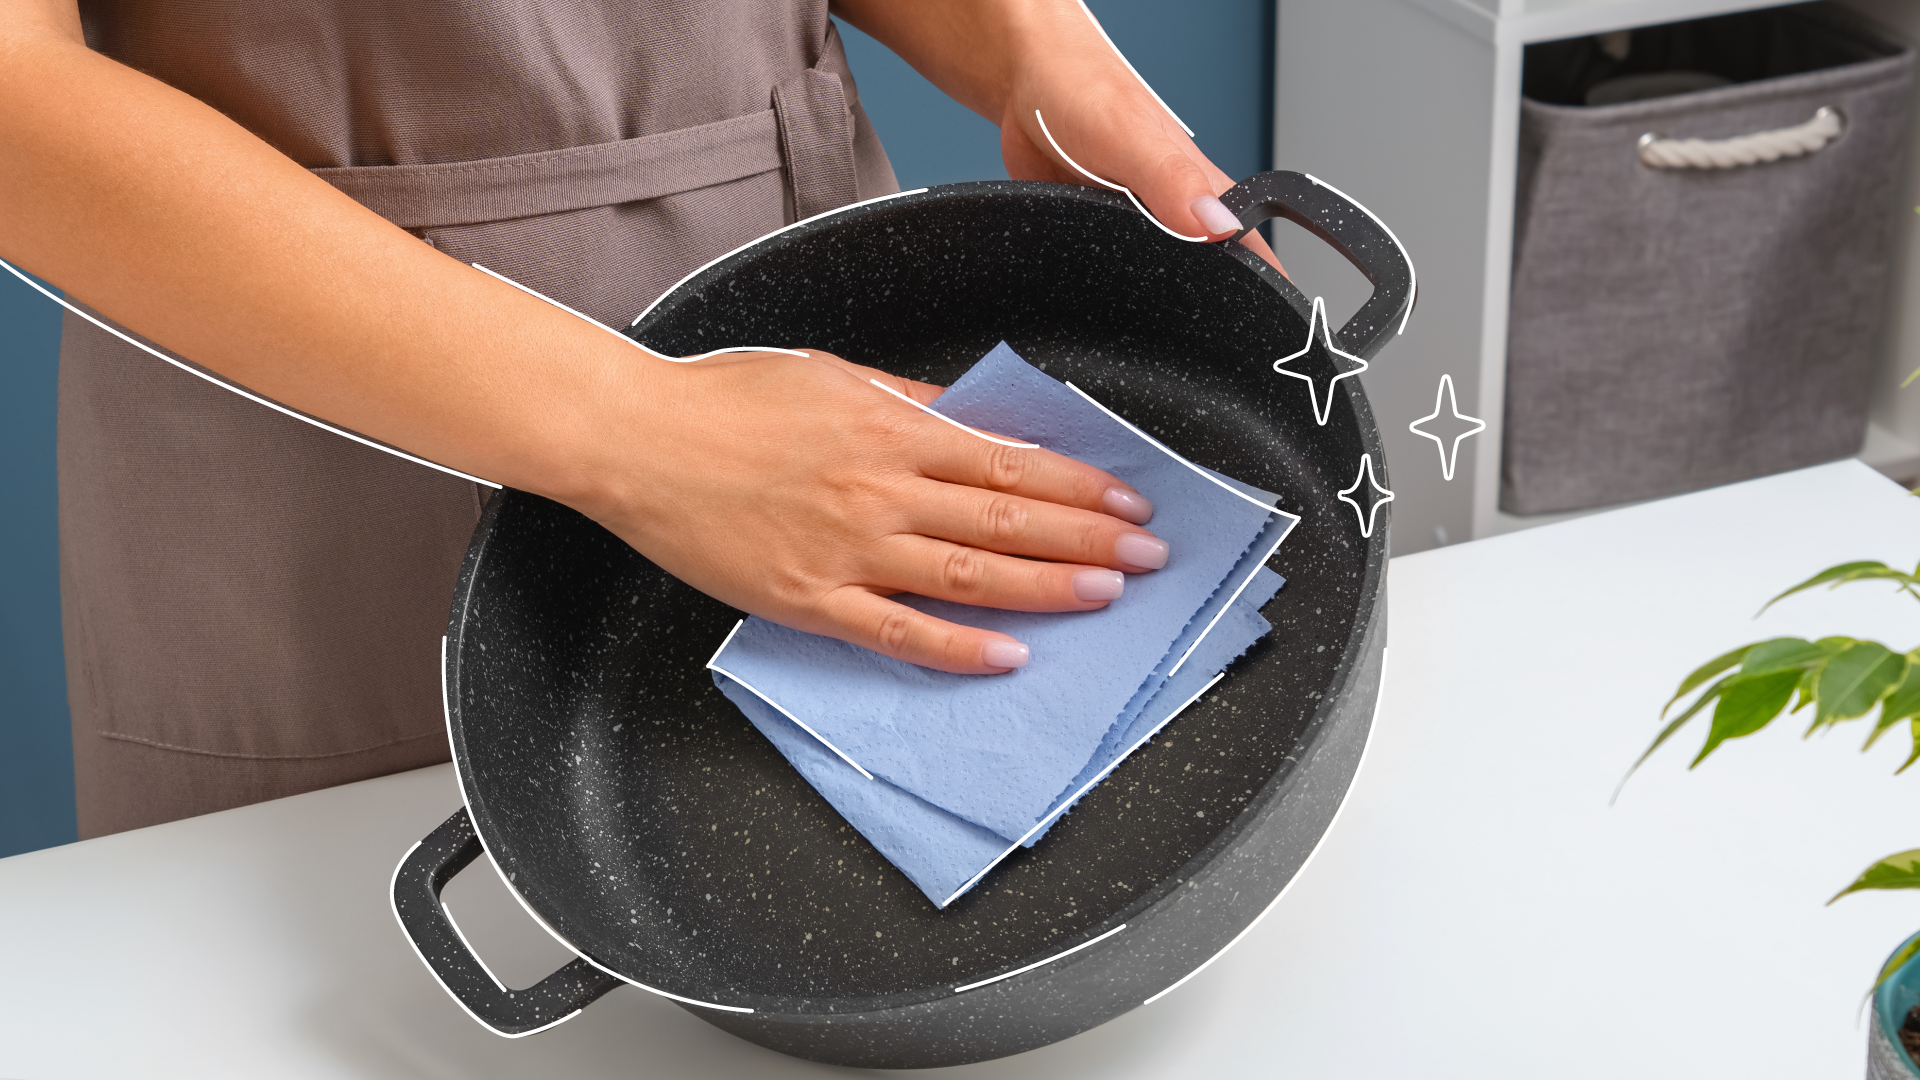
- Proper outdoor gear storage is essential for maintaining equipment performance, longevity, and safety. Clean equipment thoroughly before storing to prevent dirt, mud, water, and body oils from corroding fibers and causing mold growth.
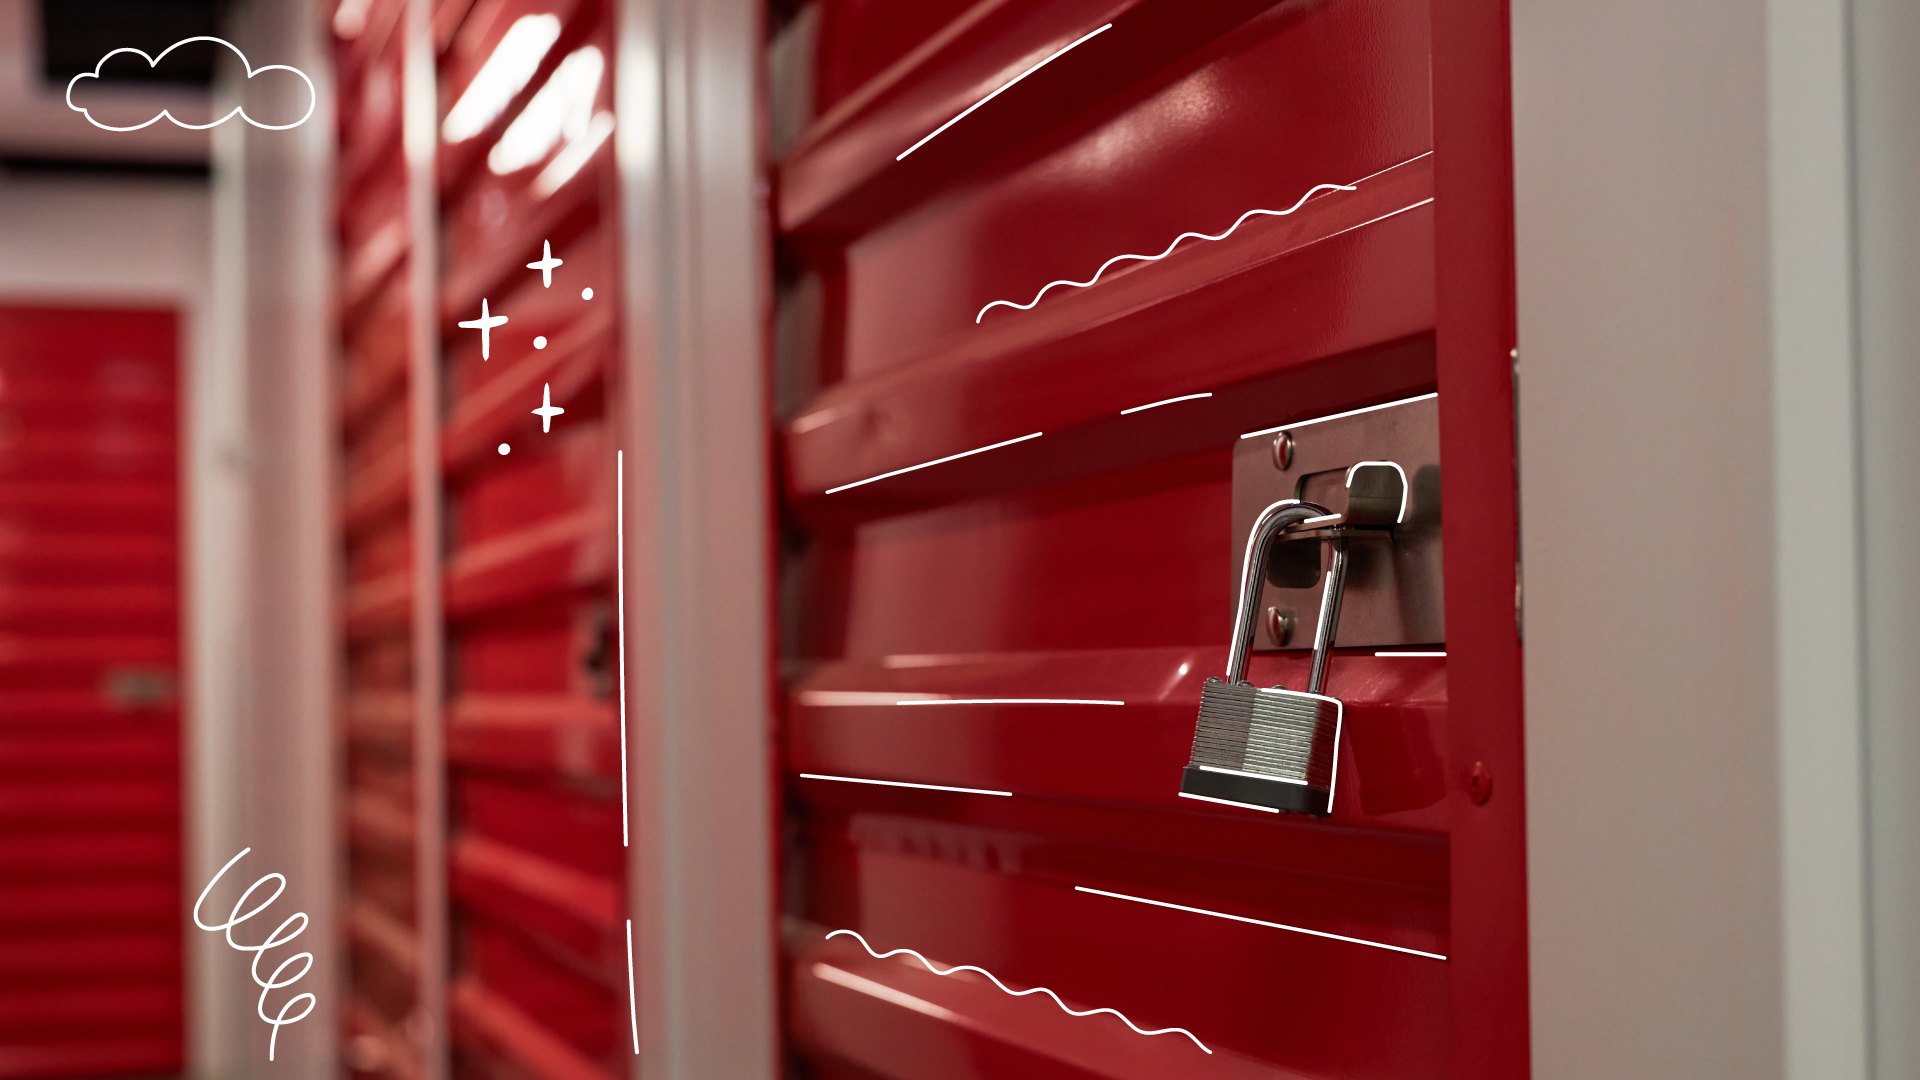
- The ideal outdoor gear storage environment is climate-controlled, with consistent temperature and low humidity. A climate-controlled self-storage unit can provide the perfect conditions for preserving gear quality when home storage space is limited.
- Sleeping bags should never be stored compressed in stuff sacks, as this degrades their insulation loft. Instead, use mesh or cotton storage sacks that allow air circulation while keeping the bag loose and uncompressed.
- Tents require thorough cleaning and complete drying before storage to prevent damage to waterproof coatings. Store tents in loose cotton or mesh bags rather than compression sacks, and keep tent poles at least partially assembled to reduce strain on shock cords.
- Hiking boots and backpacks need detailed cleaning before storage, with special attention to zippers, seams, and insoles. Leather boots require conditioning to prevent cracking and deformation during long-term storage.
Maybe you’re a seasonal outdoors enthusiast who needs to store winter gear during the summer or warm-weather thru hiking gear in the cold months. Or maybe you’re active year-round and in need of an outdoor gear storage method that lets you swap between ski gear and climbing gear depending on the time of year.
Either way, employing proper outdoor gear storage techniques is crucial, not just for the longevity and effectiveness of your equipment but also for your safety.
But proper storage technique means more than taking an inventory, installing some shelves, and organizing your outdoor gear storage room for the sake of convenience. Prolonging the lifespan and functionality of your outdoor equipment also requires proper cleaning, storage, and routine maintenance.
If you’re wondering how to prep outdoor gear like hiking and camping gear for storage, you’ve come to the right place.
Our outdoor gear storage guide will break down how to clean, prep, organize, and store your sleeping bags, backpacks, tents, and hiking footwear. We’ll also explain how to organize your outdoor gear storage room and how SelfStorage.com can help you choose the ideal location for keeping your outdoor equipment in good condition and ready for adventure.
Why Preparing Outdoor Gear for Storage is Important
High-quality pieces of gear are worth a pretty penny, so it’s no wonder you want to preserve the lifespan and maximize the level of performance and safety your hiking and camping equipment provides.
Besides, as a backcountry enthusiast, you’re likely aware of the impact trashing your synthetic tents and sleeping bags and repeatedly buying the same piece of gear has on the environment.
And even the most hardcore hikers, whose backpacking season lasts all year round, are forced to pack up their summer camping gear when it’s time for a winter backpacking adventure, and vice versa.
The last thing you want is to pull your spring tent out of storage, head to the backcountry, and find out your tent is no longer waterproof the hard way! While quality hiking and camping gear is designed to withstand rugged outdoor conditions, it’s not intended to be thrown into a humid garage while it’s still covered in mud.
- If left on your outdoor gear for a prolonged period, dirt, mud, and water can corrode the fibers of even the most robust fabrics.
- This is especially true when the item is rolled up and shoved into storage.
- Your naturally produced body oils and sweat gum up between the fibers as they dry, accelerating the wear and tear rate and hindering their absorption, waterproofing, and thermal functions.
- Storing outdoor gear that’s still sweaty makes it susceptible to mold, mildew, and bacterial growth–these processes are all incredibly difficult to reverse once they set in.
The Basics of Prepping Thru Hiking Gear for Camping Storage
As any hunter will tell you, improper sleeping bag, tent, and hunting gear storage can lead to some funky smells that’ll keep wildlife far away. Remember, the more you care for your outdoor gear through proper storage and maintenance, the more you’ll be cared for during your outdoor adventures.
We’ll get more into the specific techniques of cleaning, prepping, and storing particular types of gear, such as sleeping bags, tents, backpacks, and hiking shoes, in the following sections. But first, let’s take a look at the basics of maintaining any type of gear for camping and hiking:
- Follow the gear manufacturer’s maintenance instructions. If the cleaning and storage instructions that came with your product or are listed on your product manufacturer’s website contradict our guidance, ignore what we say and listen to the product manufacturer first and foremost. Our guides offer general maintenance and storage routines. The people who made your product know what materials it’s made of and how to care for them.
- Don’t use household cleaners. Spending the extra money on specialty products like tent cleaners and weatherproofing sprays is well worth it, provided you follow the manufacturer’s suggested maintenance routine. Refrain from using cheap laundry detergent and dish soap on your high-grade performance gear, as standard household products contain damaging additives.
- Spend more time on gear that touches the ground or your sweaty body. Your tent pad and hiking boots rest against the dirt, mud, oily plants, and all kinds of tiny critters (and maybe even their droppings). And when it comes to sweat and body oils, it’s not just your base layer we’re talking about, but your sleeping bag and outerwear. Spend a good amount of time cleaning anything that was in direct contact with you or the ground, ensuring it’s free from corrosive dirt and oils.
Cleaning and Prepping for Sleeping Bag Storage

Sleeping bag storage is a lot easier to manage than some of the bulky items we take camping. My down sleeping bag manufacturer suggests keeping it loose in a spacious duffle bag or backpack until it’s time to pack it down.
That said, if you shove your sleeping bag into a sack while it’s still covered with dirt and oils, you’re asking for early wear. And if the padding wears out, your bag won’t hold you at the constant temperature you’re expecting, which can be not only uncomfortable but also unsafe.
For casual campers, all sleeping bags need to be washed at least once a year. If you camp often, you should clean your sleeping bag at least once per season. Regardless of how often you use it, always wash your sleeping bag before putting it in long-term storage.
We never suggest dry cleaning a sleeping bag unless the manufacturer explicitly instructs you to, as the solvents used by dry cleaners can damage its thermal insulation.
Also, if you’re on a backpacking camping trip and you’ve been hiking and sweating all day, we suggest using a bag liner and packing a set of clean sleeping clothes you can change into. Before you pack your bag in the morning, shake it out and hang it up to air dry.
Machine-Washing Sleeping Bags
First things first–always follow your sleeping bag manufacturer’s washing instructions. Secondly, wash your sleeping bag unzipped and on the gentle wash cycle.
Whether you’re machine washing a synthetic sleeping bag or a down bag, the process starts the same: avoid top-load washing machines. Top-load washers use cylindrical columns to shake their contents back and forth. These central columns can agitate and damage all types of sleeping bags.
Instead, use front-load washing machines, similar to the commercial machines at the laundry mat. Front-load machines toss your sleeping bags while they wash them, which, when set to a gentle cycle, can keep your bags nice and fluffy.
Use a specialty laundry detergent designed to wash your specific type of bag. Using a down-specific cleaner for down bags can help avoid clumps that impact the bag’s temperature rating. A “tech wash” or a similar product designed for washing synthetic sleeping bags can help prevent hydrophobic film residue from building up.
We suggest rinsing your bag a minimum of two times to ensure all cleaning products have been thoroughly removed.
Take care when removing the wet bag from the washing machine–the extra weight from the water can rip your stitching through the seams if you hold it unevenly and let part of it hang.
Handwashing Sleeping Bags
To hand wash any type of sleeping bag, start by filling a bathtub with cool to lukewarm water. Then, add the specialty cleaner intended for your type of sleeping bag–down or synthetic–to the tub full of water.
Then, dunk the sleeping bag into the tub so it’s submerged in soapy water. Using your hands, gently work the soap throughout the sleeping bag, focusing on particularly dirty crevices and spots.
Leave the sleeping bag soaking in the soapy tub water for an hour. Drain the soapy water and refill the tub with clean, cool water. Work the clean water through the bag by hand, draining, and repeat this rinse step until all cleaning products are gone.
Gently squeeze the sleeping bag to drain all the extra water, taking care not to damage the interior lining.
Be sure to ball up the bag when transporting your hand-washed sleeping bag to the dryer or clothesline to prevent the seams from ripping due to water weight.
Spot Cleaning a Sleeping Bag
Spot-cleaning your sleeping bag after long camping trips is a great way to prolong its lifespan. Mix some mild soap with water in a small cup or container, and dip an old toothbrush in your mixture.
Next, you use the toothbrush to scrub any soiled areas, focusing on the head and feet areas of the bag. Finally, use a wet sponge to dab-rinse the freshly washed spots. Hang dry the spot-cleaned sleeping bag before packing it or storing it.
How to Dry a Sleeping Bag
Drying a sleeping bag starts with checking your manufacturer’s instructions. Some sleeping bags can be dried in a commercial dryer on the low heat setting. Other sleeping bags need to be dried on the no-heat setting. High heat will damage any sleeping bag with nylon in its fabric blend.
Synthetic bags will take about an hour to dry on the low setting, while down bags take multiple hours. We suggest adding tennis balls to down bags as they dry to break up insulation clumps and help fluff them back up.
If the manufacturer’s instructions tell you not to machine dry your bag, you can air dry it on a clean, flat surface or hang it. If you opt to air dry the bag, avoid putting it in direct sunlight, and be sure to hang it so the wet material isn’t pulling against the seam stitching.
How To Store a Sleeping Bag Properly
Incorrect sleeping bag storage can shorten its lifespan and weaken its insulation, compromising its ability to keep you warm.
Improper sleeping bag storage can lead to mildew and bacterial growth, degrade the material, and reduce the bag’s resilience. Before we get into the proper sleeping bag storage etiquette, let’s take a look at why it’s important:
- Your sleeping bag’s synthetic or down-based insulation relies on “loft” to trap body heat and hold you at a specific temperature.
- “Loft” refers to the volume of insulation your sleeping bag takes up.
- So, a bag rated at zero degrees has more loft than a bag rated at 20 degrees.
- If you store your sleeping bag in long-term storage while it’s still compressed or stuffed in a stuff sack, the loft degrades.
- Once the insulation volume is crushed and compromised, your sleeping bag no longer keeps you as warm as it did before.
- Down insulation can be restored to a certain point by fluffing it back up.
- Synthetic insulation is more susceptible to losing its loft when improperly stored, as synthetic insulation is harder to restore once it’s crushed.
The first step to proper sleeping bag storage is to follow the instructions outlined in the previous section, washing the bag properly and drying it thoroughly. To make the cleaning process easier, we suggest spot cleaning and air drying your bag after camping trips.
If you use a high-grade sleeping bag with a waterproof outer shell, keep in mind that the shell also traps sweat and moisture inside the bag. We suggest flipping it inside out and drying out the inside of a waterproof bag for four hours before storage. You can run a dehumidifier to speed up the process, especially if you dry it out indoors.
Once your bag is clean and dry, it’s time to put it in your outdoor gear storage room. Ideally, your storage space is temperature- and humidity-controlled. Unfortunately, that means avoiding attics, basements, and garages–unless they’re renovated and climate-controlled–as these spaces typically fluctuate between temperature extremes.
Again, you don’t want to store your sleeping bag in its compression storage sack. You want a large sack that gives your bag the space it needs to unfold and stay loose. We suggest a mesh or cotton sack that also graces your sleeping bag with fresh air flow while also preventing compression.
Pro tip: a king-size cotton pillowcase is a cheap option, but a 90L mesh or cotton sack is ideal.
Dedicate a shelf space or corner in your outdoor gear storage room for sleeping bag storage, and keep the area around it clean.
Your long-term gear storage space needs to be free of humidity and moisture, climate-controlled, and protected from direct sunlight/UV-ray exposure. We suggest a climate-controlled storage unit or a guest bedroom with a spacious closet.
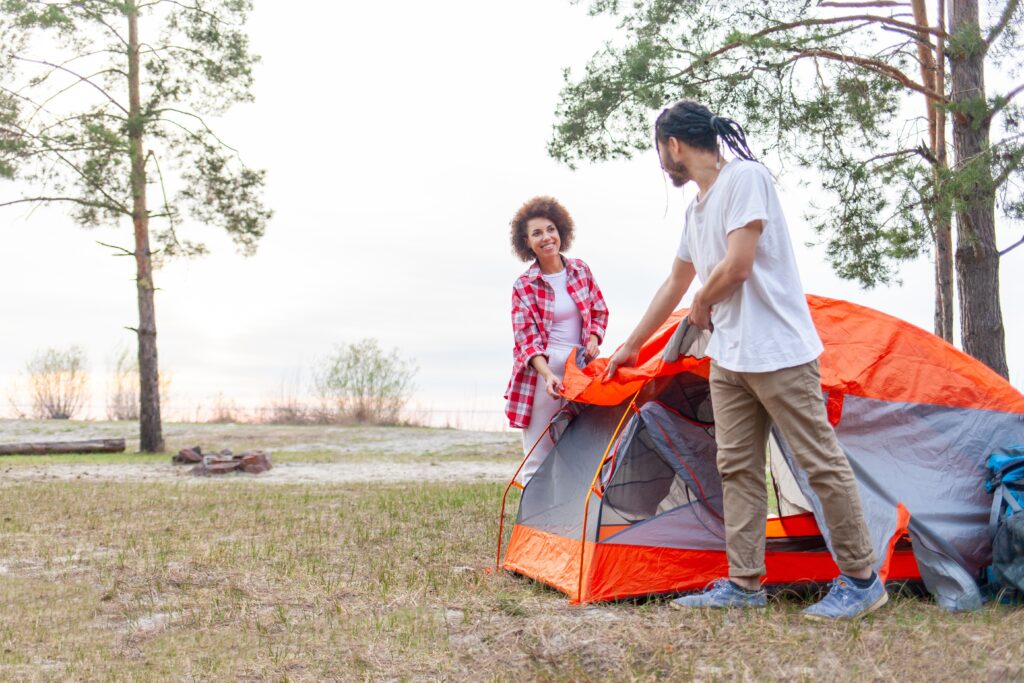
Cleaning and Prepping a Tent for Storage
Before we get into the process of organizing camping gear and tents, let’s cover the basics of washing a tent. Cleaning a tent effectively ensures your tent will last long, preserves its integrity, and helps maintain its water-resistant features.
One of the main reasons tent zippers get stuck is due to grime and dirt buildup. And there’s nothing worse than sleeping in a mildew-laden tent that’s rank with funky odors.
The general tent cleaning process begins with gathering your supplies. You’ll need some lukewarm water, mild, non-scented dish soap, tent cleaner, a non-abrasive cloth or sponge, and a large tub for soaking it in–when in doubt, use a bathtub. A gentle brush and dustpan or vacuum cleaner is also a plus.
The first step is to shake all the dirt, sand, crumbs, and debris out of the tent. If you’ve got a dust pan or vacuum handy, you can set your tent up and sweep or vacuum it clean to save some time.
Once you’ve cleaned all the loose dirt, add the mild dish soap to some water. Wet your face cloth or sponge with soapy water and focus on the grimy and oily areas of the tent, gently scrubbing out any bird droppings, sap stains, or sweat/mildew as best as you can.
If your tent has a specific issue, such as pine sap or old growth, that dish soap isn’t working for, try one of the following pro tips:
- Mildew, Mold, and Funky Odors: Use an enzyme cleaner that your tent company considers safe and follow the instructions on the bottle.
- Pine Sap: If the pine sap stains on your tent won’t wash out with mild dish soap, try using mineral oil, hand sanitizer, or another alcohol-based product. These may negatively impact your waterproof coating; we’ll be reapplying waterproof products in a later step, but always defer to the tent maker’s instructions first and foremost.
- Zipper Grit: If dirt, grit, or grime is lodged between your zipper teeth and doesn’t wash out with water, grab an old toothbrush. Dunk the toothbrush in soapy water and scrub until the dirt is free. Then, dunk the toothbrush in clean water to rinse all the space off before moving on.
Now, fill that tub with water and tent cleaner, and follow the instructions on the specific tent cleaner you’re using.
NOTE: Be sure you’re using a tent cleaner that your tent manufacturer recommends, as not all tents are constructed for the same material.
While your tent is soaking, it’s time to wash your tent poles. Grab a clean, damp rag and wipe them down until they’re dirt-free. Then, use a dry towel to rub down your tent poles until they’re completely dry.
Once you’ve soaked the tent in the cleaner-infused water, empty the tub and refill it with clean water to rinse the tent until it is free of cleaner. Repeat the rinse step as needed.
Once all cleaning agents have been rinsed from the tent, it’s time to dry it out.
After your tent has dried completely, you can apply a fresh layer of waterproof coating. Be sure to use a product your tent manufacturer recommends and follow the product guidelines.
If your tent needs patching or stitch repair, we suggest doing so before you store it to prevent tears, holes, and rips from getting worse.
Proper Tent Storage Techniques
Like your sleeping bag, proper tent storage starts with reading your tent manufacturer’s recommendations. Some tent makers suggest rolling your tent up, while others suggest folding it. Either way, you’ll need to dedicate a little space in your outdoor gear storage room to tent storage since we won’t be storing it in the storage sack.
Storing your tent compressed puts stress on the material and restricts airflow, both of which can break it down prematurely. Plus, if you stuff a compressed tent into a bin full of other camping gear, the friction can rub off the waterproof coating.
Before you store your tent, you need to air it and dry it out to prevent mold growth, whether or not you took our advice and washed it.
Storing your tent damp with water, sweat, oil, or dew drops can damage its polyurethane coatings, causing them to flake off or gum up.
You can let your tent air dry outside on a flat surface in the shade. Or you can hang it from a clothesline or drape it over a tree branch or the side of your porch. Either way, you don’t want to dry your tent in direct sunlight, as the UV rays can damage the material.
Temporarily keeping your tent in its compact stuff sack during your hike is fine–that’s what the sack is for. But when it comes to storage, you want to let your tent breathe. Keep your tent safe for long-term storage and enjoy long-lasting organization by storing it in a cotton sack, a king-size pillowcase, or a mesh bag.
As far as tent pole storage goes, your safest bet is to store them at least partially assembled rather than collapsed and folded up.
When you collapse your tent poles, it strains the shock cord that runs through them. Over time, this stress can reduce the pole’s tension.
Pro tip: If you have to store your tent poles collapsed, collapse them from the center rather than from one end to the other. This at least distributes the tension evenly through the cord.
Tents last longer when stored in a cool, dry storage room. Any space that experiences rapid shifts in temperature or humidity can warp the fabric. Keeping your tent in a damp space like a shed, garage, or attic risks mold growth and funky smells.
If your outdoor camping shelter of choice is a shelter, camper, or RV, you’ll want to employ the appropriate RV winterization process before you store your camper long-term.
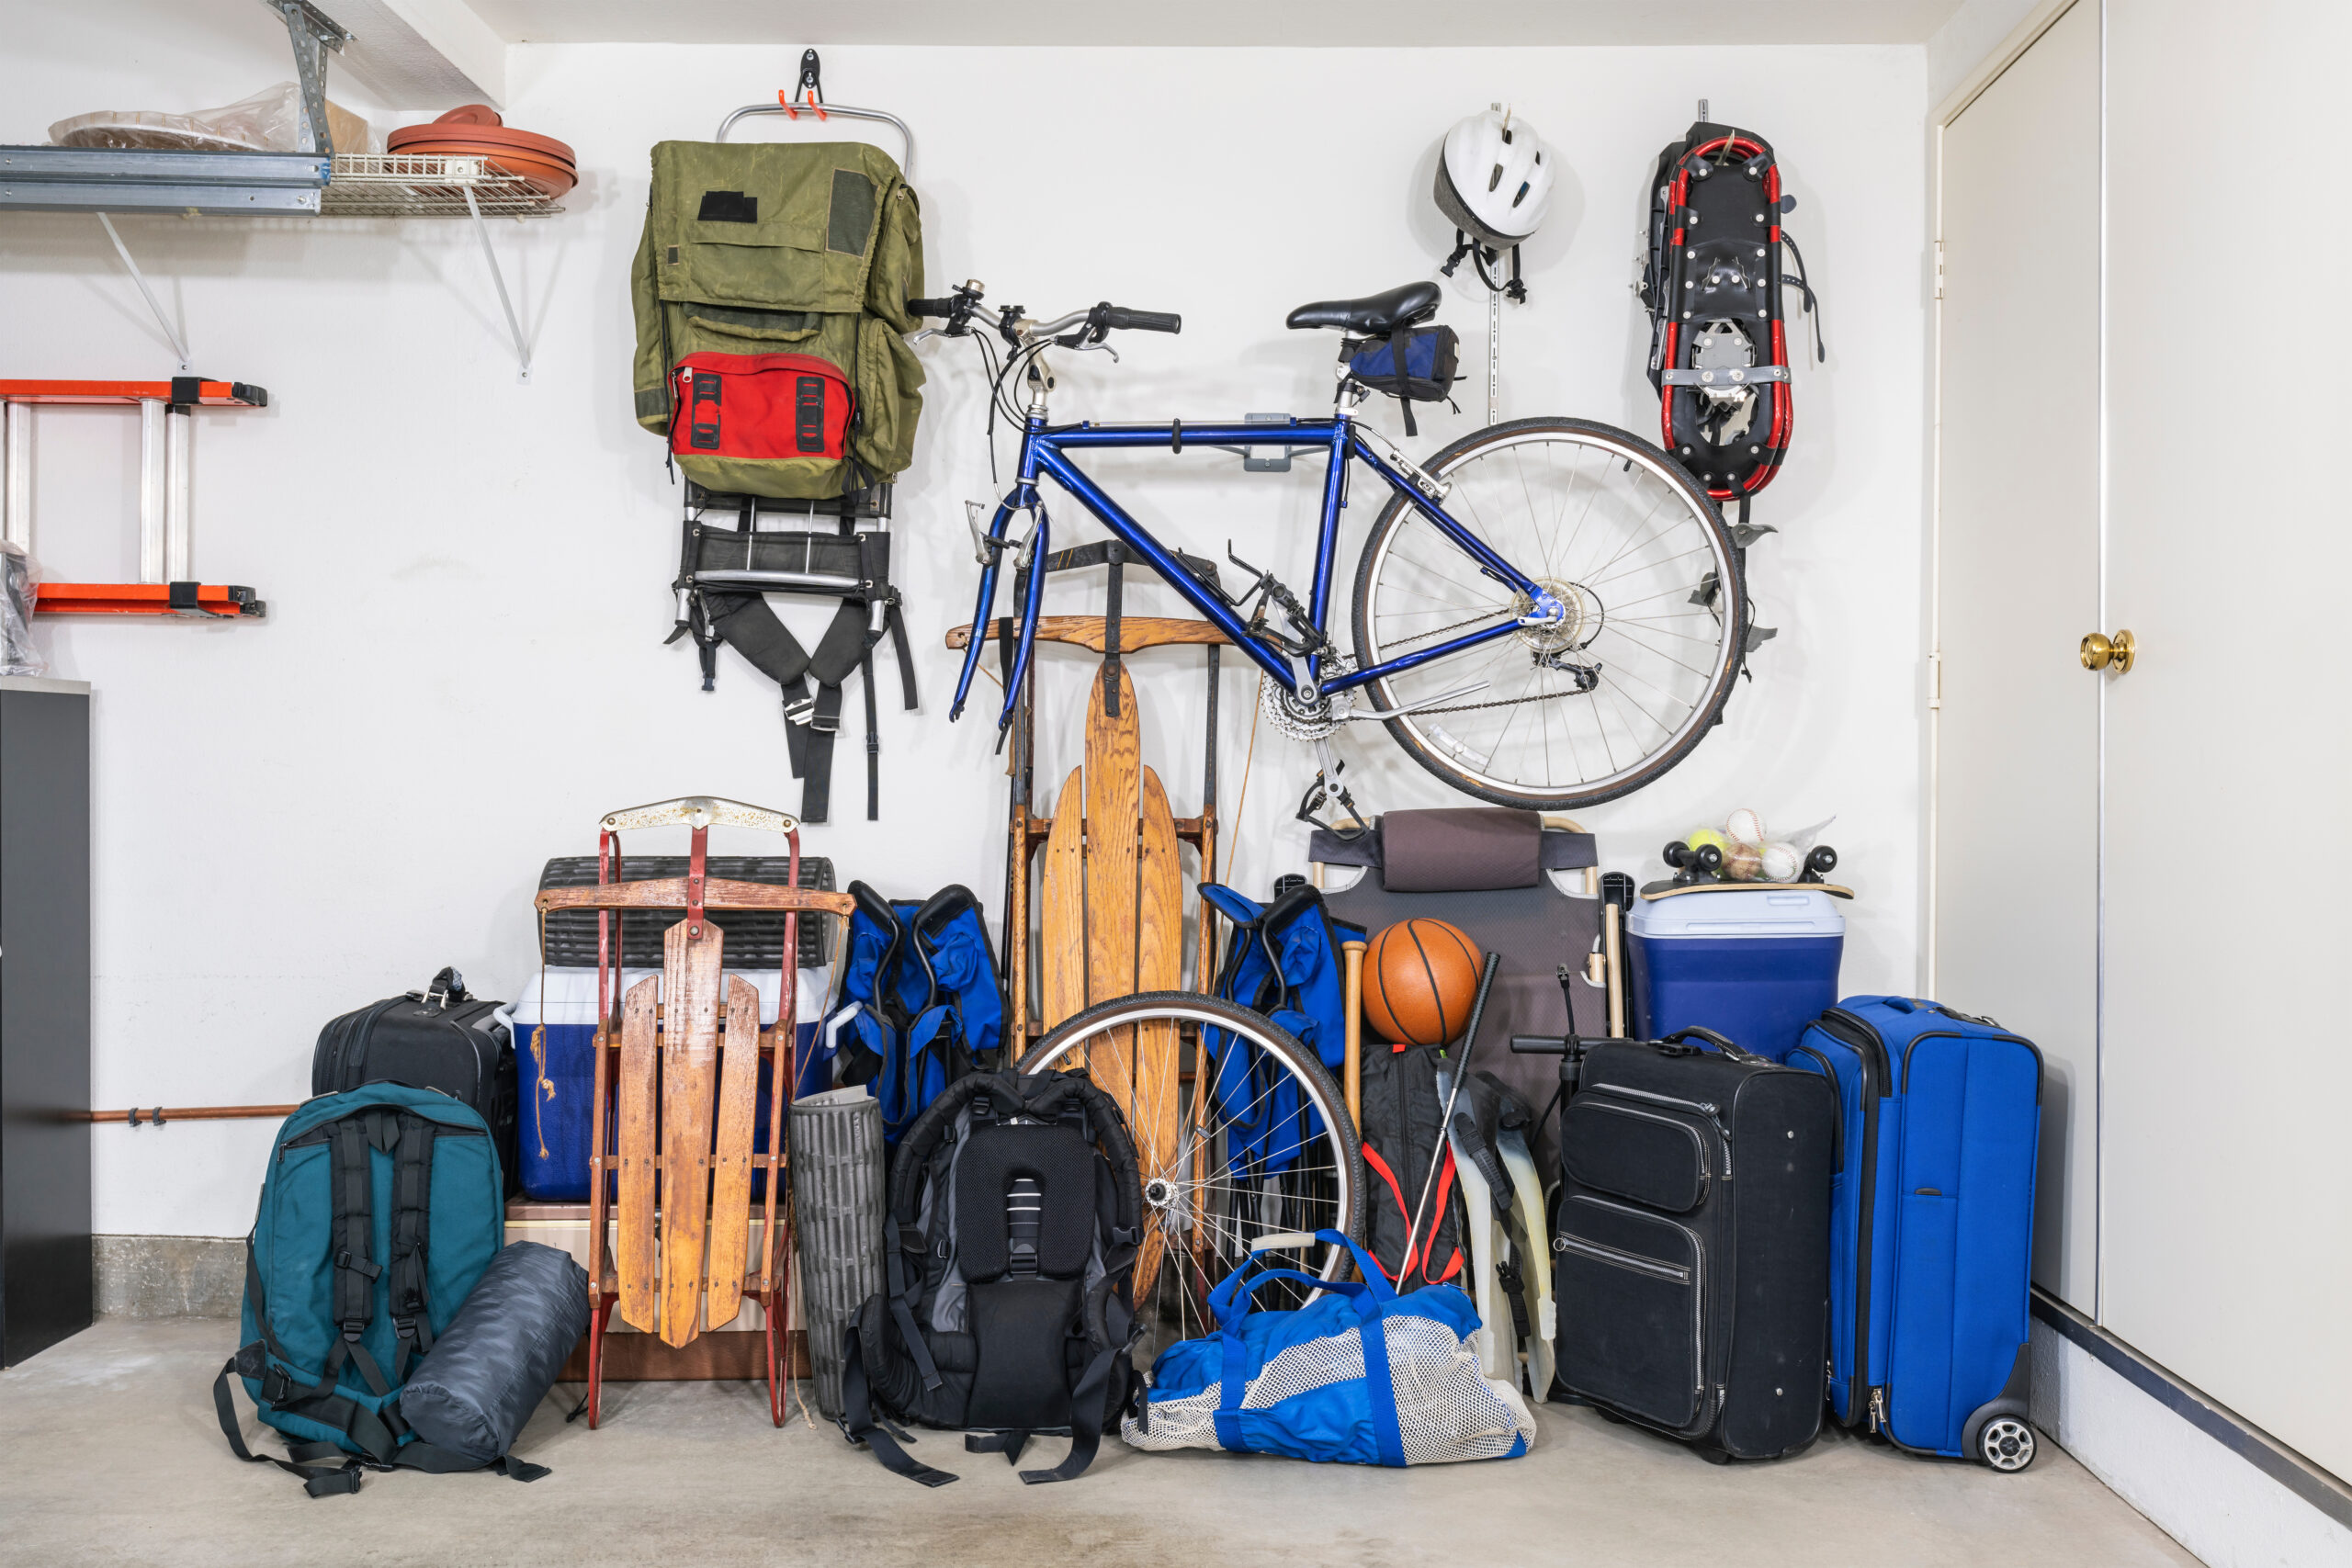
Backpack Storage: Proper Outdoor Gear Storage Methods for Hiking Packs

While casual hikers may repurpose their everyday backpacks for their day trips, outdoor enthusiasts typically have a specialty backpack for hiking. A hiking pack often includes a water bladder and is supported by an ergonomic metal frame that matches the curve of the human body.
Those of us who go out every weekend are used to just throwing our pack in an empty space in the closet between backpacking trips, rain gear still inside. But if you’re not a winter hiker, your pack may sit in your closet for a month before it’s time for your next spring backpacking trip.
While your backpack is one of the more rugged and adaptable gear pieces, we still don’t suggest tossing it in the backyard shed. At the very least, you want to utilize an organized garage for backpack storage. But since we recommend a climate-controlled gear storage space for your tent and sleeping bag, why not keep them all in the same place?
Just like other pieces of outdoor gear, storing your backpack while it’s dirty can shorten its lifespan. The buildup of salts, grease, dirt, oil, sap, and sweat backpacks incurred during outdoor adventures can degrade the material.
Removing dirt and sand from your zipper tracks also ensures your zippers stay functional. Plus, food crumbs and residue attract harmful critters known to eat through even the most high-grade packs. Let’s take a detailed look at how to clean your hiking pack for long-term storage:
Gather your supplies
You’ll need a clean sponge or washcloth, an old toothbrush with soft bristles, and either a mild, fragrance-free dish soap, a Castille soap, or a soap designed for cleaning the performance material your pack is constructed from.
Empty the pack
Next, you’ll have to empty your backpack. That means emptying every pocket and compartment, leaving them all open, shaking the pack, and dumping out all the dirt, sand, lint, crumbs, and any loose change or buttons.
Remove all the detachable parts from your pack, such as the shoulder straps, metal frame, and hip pack/waist straps. Vacuum out all compartments, pockets, and seams to remove all dirt and crumbs.
Start with some light cleaning
Wipe out the pack’s interior with a clean, wet sponge or rag, slightly damp with soap-free water. Use your soap of choice to scrub out any stained or heavily soiled areas on the outside of the pack. Rinse the soap out with cold water, and hang the pack in a humidity-free area until totally dry.
Detail clean your zipper tracks
Hiking packs typically have a water-resistant coating on all zipper tracks to keep rain and humidity out during camping adventures. So it’s important to avoid scrubbing your zippers with coarse brushes, or else you’ll scrub off the protective layer. You can use a toothpick to push dirt and sand out of the upper track, and then you can use zipper lubricant to break up dirt and keep the zipper functioning smoothly.
Move on to deep cleaning
To clean an exceptionally soiled backpack, fill your bathtub with cool to lukewarm water and your mild soap of choice. With the pack submerged in soapy water, scrub the inside and outside of your pack with your sponge or face cloth; use the toothbrush for smaller, hard-to-reach pockets.
Spend extra time scrubbing the parts of your packs that come in direct contact with your skin while hiking. Empty the tub, refill it with cold water, and rinse the pack until it and the water are soap-free–you may have to drain and rinse multiple times. Again, always air-dry your hiking backpack.
Be careful not to
Avoid drying your backpack in direct sunlight, washing it with hot water, and scrubbing it with coarse tools, or you’ll risk removing its weather-proof coatings and wearing out the material.
Air dry only
Never wash your hiking pack in the washing machine or dry it in the dryer.
Store small day packs hanging on a wall hook or on an S hook on the side of your gear storage room shelves. If you decide to take our advice and dedicate a storage unit to camping storage, we suggest organizing the storage unit so you can hang your backpack in the same place every time.
For larger backcountry packs, store your empty pack upright with the zipper side of your back against a flat surface or wall space and the inner part that rests against your back facing outward from the wall. This supports the frame and keeps your hiking pack standing upright.
Outdoor Footwear Storage: Prepping and Storing Hiking Boots
While it may be tempting to toss your hiking boots into the closet for the winter, be warned–storing your outdoor footwear dirty leads to early wear. If you fail to clean off all the dirt, mud, and sand from your hiking boots before storing them, the debris’s salt and minerals can degrade the fabric and leather of even the highest-quality shoes.
If your shoe’s leather gets wet, it’ll warp and change shape and may even get stuck in a bent position. If you fail to treat leather or apply a fresh waterproofing coat to fabric hikers, you may come back to find cracked leather or hiking boots that let mud and water soak into your socks.
And that’s not to mention the foot sweat that’s left to soak into the inner soles of uncleaned footwear, festering into mold, mildew, and pungent smells that are challenging to remove, to say the least.
So, before we get into proper footwear storage techniques, let’s take a step-by-step look at how to prep hiking boots for storage:
Gather your boot-cleaning supplies
As always, the first step is to consult your boot manufacturer’s cleaning instructions and to find out what type of shoe cleaner they suggest for the material your specific model shoe is constructed from.
Your shoe brand will typically recommend either boot cleaner, saddle soap, or a mild dish soap/water mix. DO NOT use bar soap or detergents, as they’ll compromise the condition of your leather and the waterproof membranes of other types of hikers.
You’ll need a boot brush, an old toothbrush, or even a vegetable brush, although you won’t want to use the brush in your mouth or after your food once you’ve scrubbed your shoes with it. Last but not least, if your hiking footwear has mold or mildew, prepare a mix of 80% water and 20% vinegar for spot cleaning.
Clean the upper part of your boots
Take your shoe laces completely off and start by gently brushing off the loose dirt. Once you’ve removed the loose stuff, dip or rinse your brush in water, apply the manufacturer-recommended cleaner, and scrub off the stubborn mud and debris.
Next, rinse the shoe thoroughly with cool, clean water until all cleaning products are removed.
Spot clean any mold or stains
You may find some lingering mold or stains that were hiding under the dirt you just removed. . Grab that 80/20 water/vinegar mix and use your cleaning brush to spot-clean the moldy parts of your shoes. Rinse your shoes with water when you’re done to avoid leaving any vinegar residue behind.
Clean the boots’ outsoles
Now that the top of your boots is cleaned and rinsed, it’s time to move down to the outer soles on the bottom of the shoe. In theory, you should use a hose or brush to scrape the mud off the bottom of your boots and remove any debris stuck between the grooves of your boots after every hike to revive the shoe’s traction and avoid spreading invasive species from one trail to another.
With the bottom of your shoes free of mud and debris, rinse and wet your cleaning brush with water and give your outsoles a thorough brush to remove any residual dirt. Again, you can use a hose for any stubborn chunks, but do your best to focus the pressurized water stream on the bottom of your shoes and avoid hitting the fabric uppers as best as possible.
Dry the shoes thoroughly before storage
Remove the insoles and air-dry them separately from the rest of the shoe. Dry your hiking boots at room temperature in a dehumidified area. DO NOT use heat sources like blowdryers, radiators, or fireplaces; you’ll weaken the leather, the stitching, and any adhesive.
If you’re in a hurry, you can put your boots in front of a fan. Stuff them with newspaper, as the paper will absorb the moisture from the rest of the shoe. Change the newspaper out every five to ten minutes until the shoe is completely dry.
Treat leather footwear with leather conditioner
While suede and nubuck boots don’t require conditioning, we suggest treating full-grain leather boots with leather lotion to avoid deformed shapes or cracking. Use a leather conditioning product your shoe company recommends, and follow the instructions. Refrain from using too much conditioner, or else your leather will over-soften, and your shoes won’t support your feet the same way.
Finally, DO NOT treat your leather hiking boots with industrial products like mink oil. Industrial products tend to over-soften leather boots, weakening the shoes’ integrity.
Hiking footwear is just as vulnerable to humidity and extreme temperature fluctuations as your tent and sleeping bag. This means you need to find a dedicated space for hiking boot storage that’s not just temperature-controlled but also humidity-controlled.
An air-conditioned/heated closet isn’t enough–you need a storage space with a dehumidifier – or, at the very least, a fan – to keep it cool and dry.
We suggest storing your clean and dry hiking footwear on a small shoe rack to keep the shoes upright. Stick some shoe horns inside each shoe to help them maintain their shape, especially if you’re storing them for an entire season.
Now you thoroughly understand how to prepare and store all your favorite outdoor gear. That said, all of this hard work and attention to detail can be wasted if you don’t have a clean, organized, climate-controlled space to keep the gear in.
Let’s examine how to choose and set up the ideal location for outdoor gear storage and how SelfStorage.com can help.
How SelfStorage.com Can Help You Find the Ideal Outdoor Gear Storage Room
The ideal outdoor gear storage space starts with thorough prep and detailed organization. Clear storage containers for camping storage, steel shelving units, shoe racks, and a hanging wardrobe for base layers and rain gear can help save space and make it easy to find what you need.
To keep your outdoor gear mold-free and odor-free and to prolong the life of your camping gear, we recommend a dedicated storage space with low humidity levels and consistent room temperature.
Ozone machines, baking soda, and dehumidifiers can all help, but when it comes to regulating moisture and temperature, you’ll need to make sure your dedicated outdoor gear storage room is climate-controlled. Your typical storage shed, attic, or garage leaves your gear susceptible to early wear, mold growth, and funky smells.
But we don’t all have a spare room or extra walk-in closet we can dedicate to camping storage, especially considering that you need space to swap out seasonal gear and maintain the off-season gear that’s been stashed away for months on end.
But don’t fret–SelfStorage.com has the solution.
Book a small, climate-controlled storage unit and convert it to a dedicated outdoor gear storage room following the steps we outlined in this guide. A climate-controlled self-storage unit creates the ideal environment, protecting your gear against pests, moisture, corrosion, and the dramatic temperature changes that all work together to eat through even the most durable thru-hiking gear.
But not all storage units are created equal. Some aren’t climate-controlled, and others lack security cameras or the 24-hour access that allows you to pack up and load out for your camping adventure at 5 am.
SelfStorage.com can help you select the ideal storage space. Just punch your zip code into our handy storage search tool to find a storage unit between your house and your favorite hiking or camping spot.
Our site searches through over 20,000 storage facilities nationwide. The search tool lets you filter your results based on the search parameters you set. Narrow your results based on location and amenities like climate control and 24-hour access.
SelfStorage.com lets you compare prices and unit sizes and reserve your storage unit for free in minutes. No commitment and no credit card required!