Article takeaways
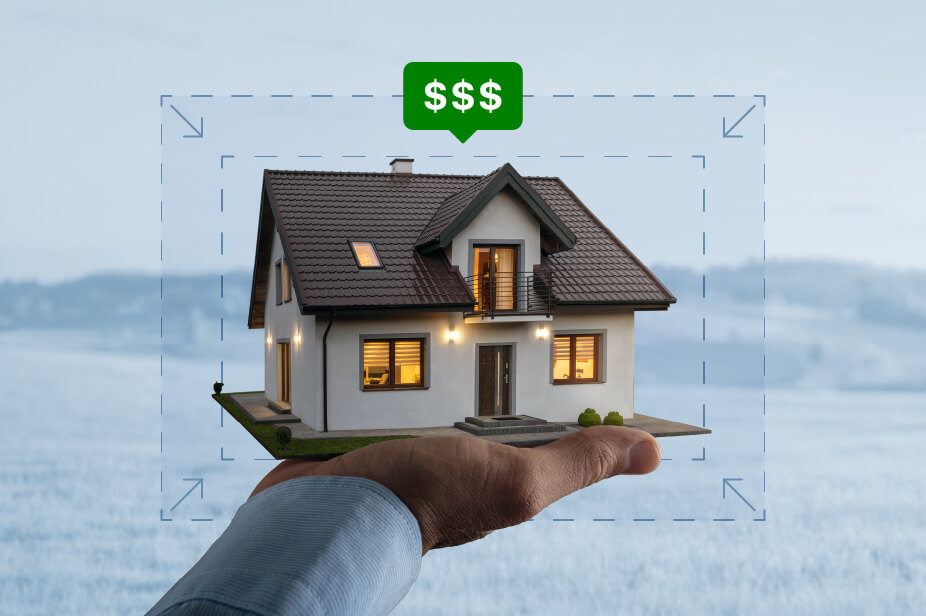
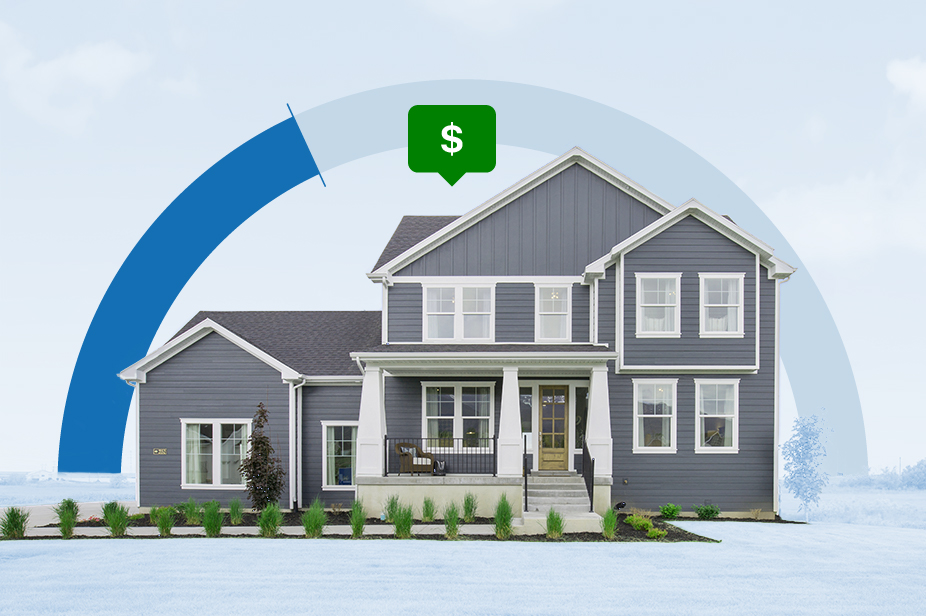
- Curb appeal plays a major role in home value, with strong exterior presentation increasing perceived worth.
- Simple DIY curb appeal projects, like painting the front door or cleaning your siding, can make a big difference on a small budget.
- Upgrades like lighting, mailbox refreshes, and seasonal décor rotation are easy wins when learning how to boost curb appeal.
- Front yard landscaping ideas that use native plants offer low-maintenance beauty while supporting local ecosystems.
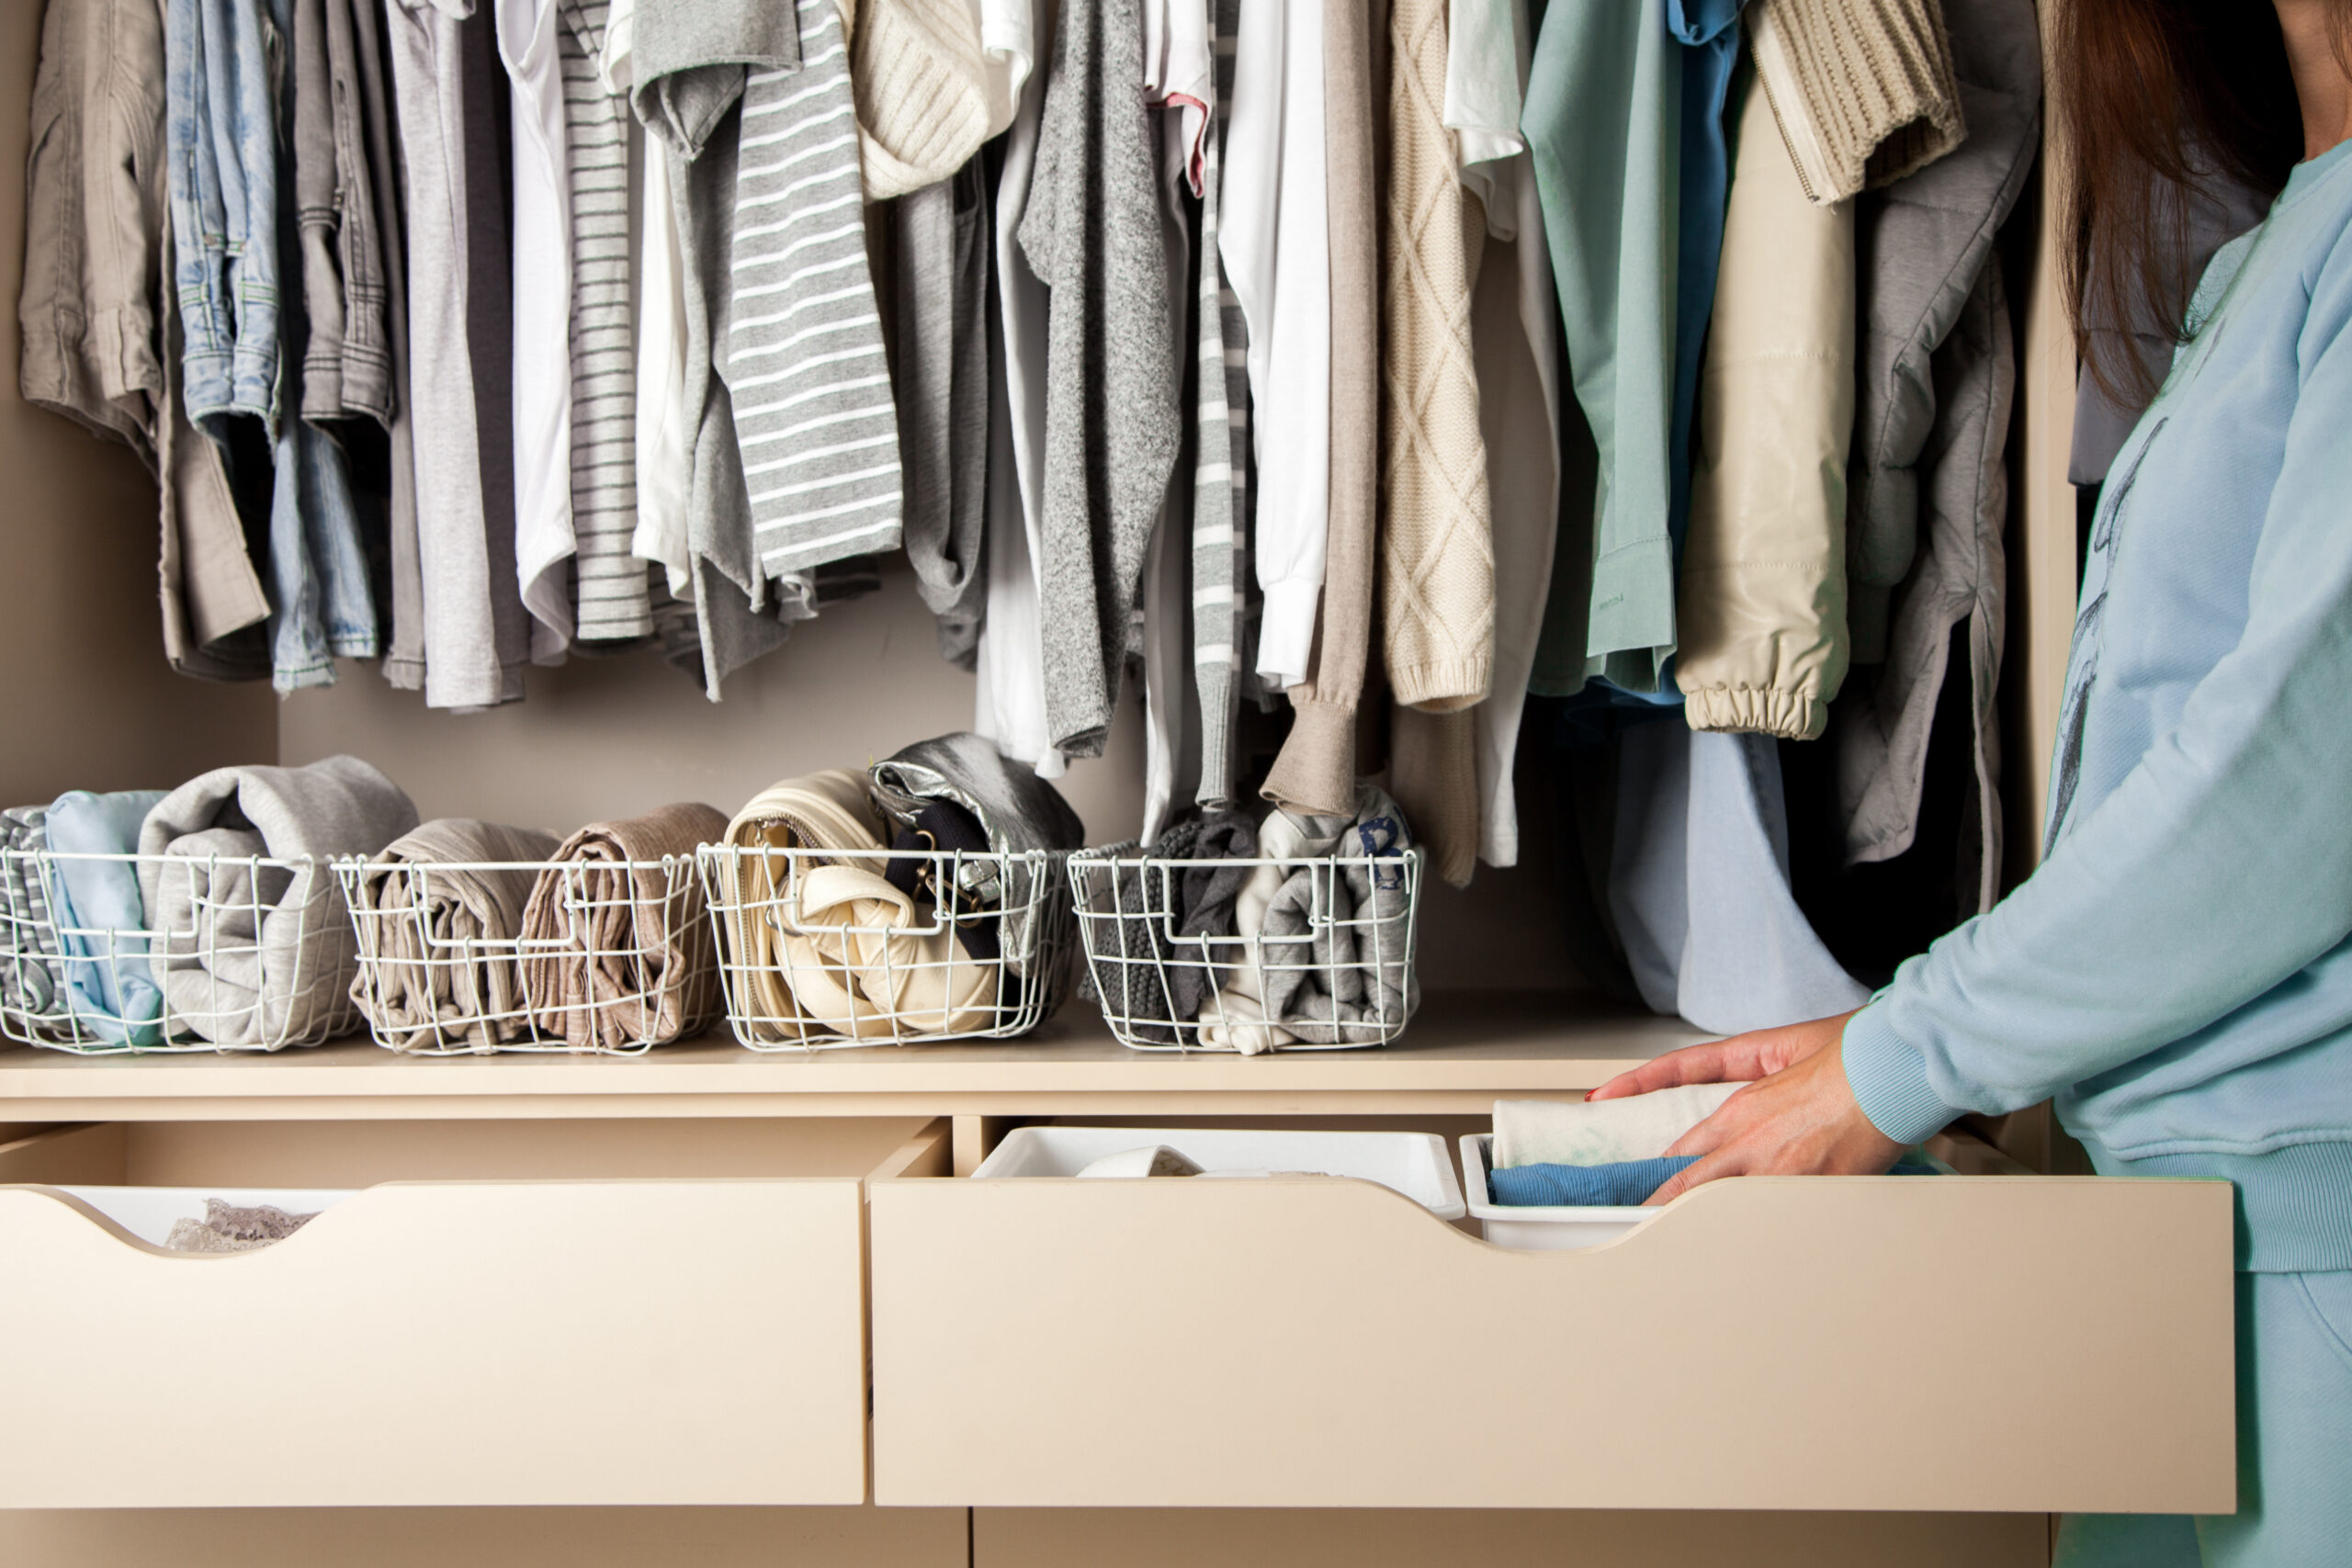
- Temporary self-storage helps reduce clutter and keeps renovation materials organized throughout multi-phase projects.
First impressions matter. Whether you’re looking to sell your home or simply want to enjoy a more welcoming exterior, boosting curb appeal can make a huge difference. But what exactly is curb appeal? It’s the overall attractiveness of your home’s exterior as seen from the street, like lawn care, paint quality, walkways, and front door details. In real estate, curb appeal is one of the most powerful tools for increasing a home’s perceived value and attracting buyers. It often determines whether people stop to admire your home or walk right past it.
The good news? You don’t need a contractor or a five-figure budget to make a major visual impact. With a bit of creativity, elbow grease, and strategic use of temporary self-storage, you can tackle affordable improvements that instantly elevate your home’s appearance. DIY curb appeal projects not only save money but also let you personalize your space with pride.
In this guide, we’ll walk you through seven simple, budget-friendly upgrades you can knock out in a weekend, from painting your front door to sprucing up the landscaping.
The Power of Curb Appeal (and Why It Pays Off)
Curb appeal refers to the visual attractiveness of your home when viewed from the street. It’s the first impression for guests and buyers, and it sets the tone for what’s inside. From a trimmed lawn to a freshly painted door, every detail contributes to how your home is perceived. If you’ve recently inherited a home and aren’t sure where to begin, improving the exterior is a smart first step.
According to a 2024 study by The Third Estimate, homes with strong curb appeal can sell for up to 7% more than similar properties with a neglected exterior. That’s because potential buyers form opinions within seconds, and the exterior often determines whether they want to see the inside at all.
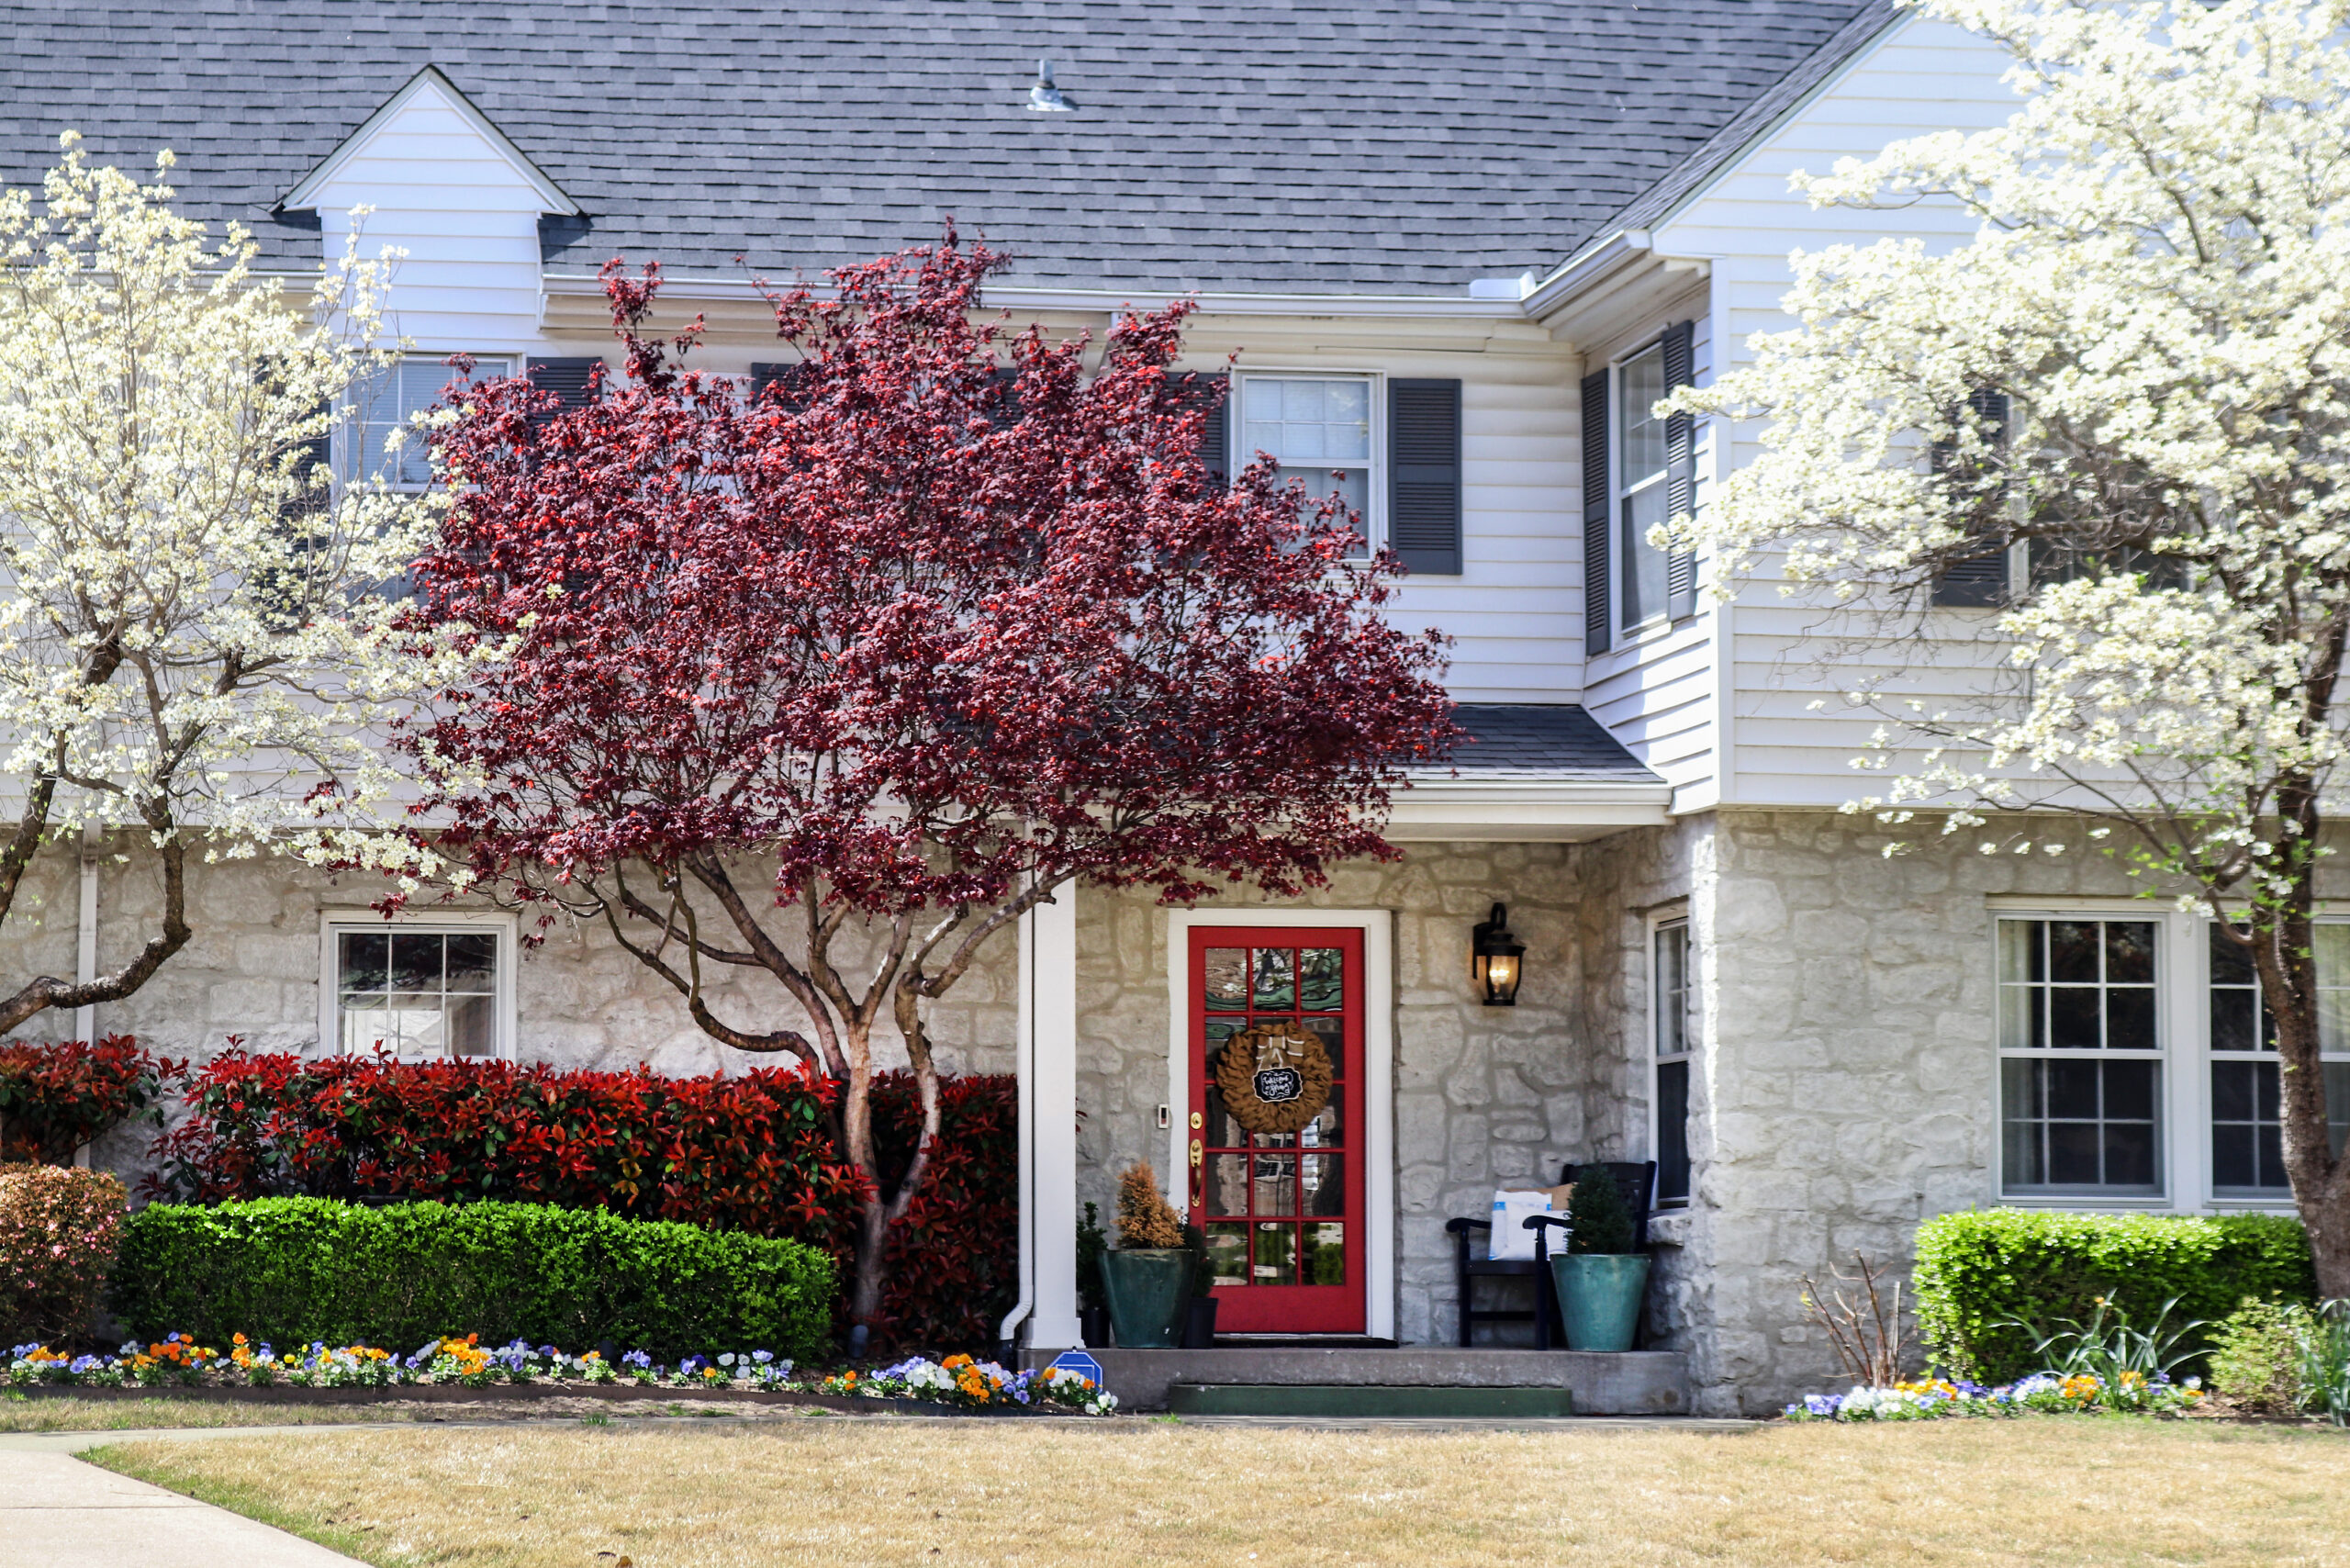
1. Front Door Transformations
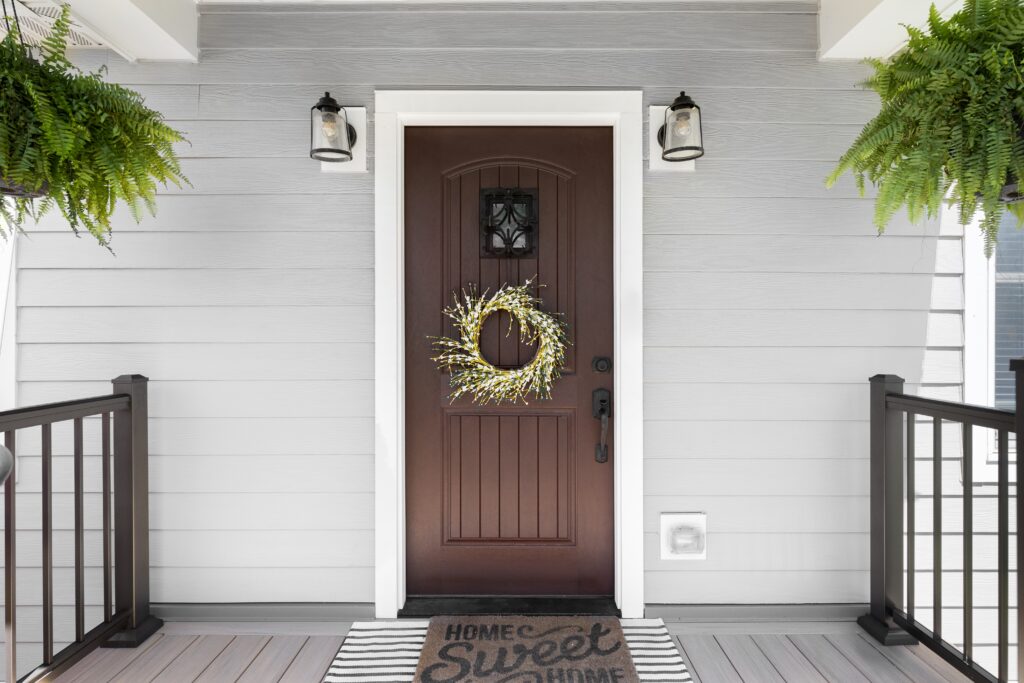
Your front door is the focal point of your home’s exterior. Updating it can dramatically enhance your home’s appearance and make it stand out in the neighborhood. A bold, refreshed entryway draws the eye, sets the tone for the rest of your property, and can even boost perceived home value.
Paint It Bold: A fresh coat of paint in a color that complements your home’s exterior, like navy, red, or black, can create a stunning focal point. Choose a weather-resistant exterior paint for durability.
Update the Hardware: Swapping out old, tarnished handles and locks for sleek new hardware is an instant upgrade. Consider a matte black finish or a polished brass look for added style.
Add Personality: Consider installing a seasonal wreath, a custom door mat, or modern house numbers to reflect your personality.
Storage Tip: Before painting or replacing door hardware, move entryway furniture (benches, coat racks) into a short-term storage unit to prevent damage and create workspace. This ensures a clean area for setup and lets you avoid paint splatters indoors.
Pro Tip: Don’t forget the lighting around your door; updating your porch light fixture or adding accent lighting can make your newly refreshed entryway shine even after dark. A well-lit doorway not only enhances safety but also highlights your upgrades at all hours.
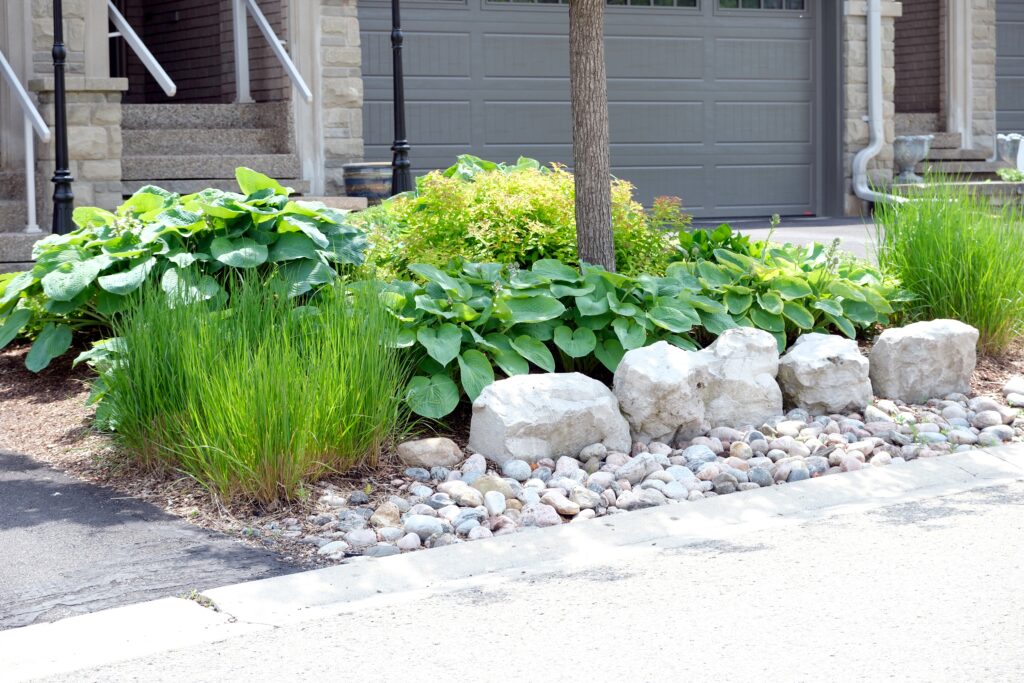
2. Landscaping Essentials
Landscaping doesn’t have to involve a total yard makeover. Small updates go a long way, and they offer some major advantages. Not only can landscaping improve your home’s curb appeal, but it also creates a more enjoyable outdoor environment for relaxing, entertaining, and everyday living. Thoughtfully placed plants and garden features can soften hard edges, provide privacy, and even improve your home’s insulation by reducing sun exposure to windows and walls.
According to the National Association of Realtors’ 2023 Remodeling Impact Report, 92% of REALTORS® recommend enhancing a home’s curb appeal before listing. In fact, standard lawn care services can yield a 217% return on investment, making it one of the most cost-effective improvements you can make.
On average, hiring a landscaping company for basic projects such as new flower beds, fresh mulch, and light lawn maintenance can cost anywhere from $100 to $500, IF you’re doing the work yourself (meaning, you’re the one doing the manual labor!). Hiring a professional for more extensive projects can easily climb into the thousands. That’s why DIY is such a smart move, it allows you to control costs while still achieving great visual impact.
Another bonus? Incorporating native plants like local grasses or wildflowers into your landscape design isn’t just eco-friendly, it’s beautiful and low-maintenance. These plants are adapted to your climate, which means they need less water and upkeep than non-native species. Even better, they support local pollinators like bees and butterflies, which are vital to maintaining healthy ecosystems. By choosing native flora, you’re not only cutting down on future yard work, you’re also actively contributing to your community’s biodiversity.
Start With the Lawn: Mow, edge, and fertilize your lawn. A well-kept lawn always makes a strong impression.
Add Color: Introduce flower beds or container gardens with seasonal blooms. Perennials are budget-friendly and come back every year.
Define the Space: Use mulch or stone borders to create clear garden lines. This gives your yard a polished look without a major investment.
| Landscaping Item | Estimated Cost |
|---|---|
| Bagged mulch (2-3 bags) | $10-$15 |
| Perennial plants (4–6 plants) | $25-$40 |
| Lawn fertilizer | $15-$25 |
| Garden edging kit | $20-$40 |
| Native grasses or wildflower seed mix | $15-$35 |
Storage Tip: Use your storage unit to house out-of-season tools, extra soil, and lawn décor. This keeps your garage from becoming a dumping ground for project overflow.
Pro Tip: When planting native grasses or wildflowers, check with local garden centers or extension offices for seed mixes that are best suited to your region. These options often thrive with less water, resist pests naturally, and bloom in ways that attract bees and butterflies throughout the season.
3. Exterior Cleaning and Quick Repairs
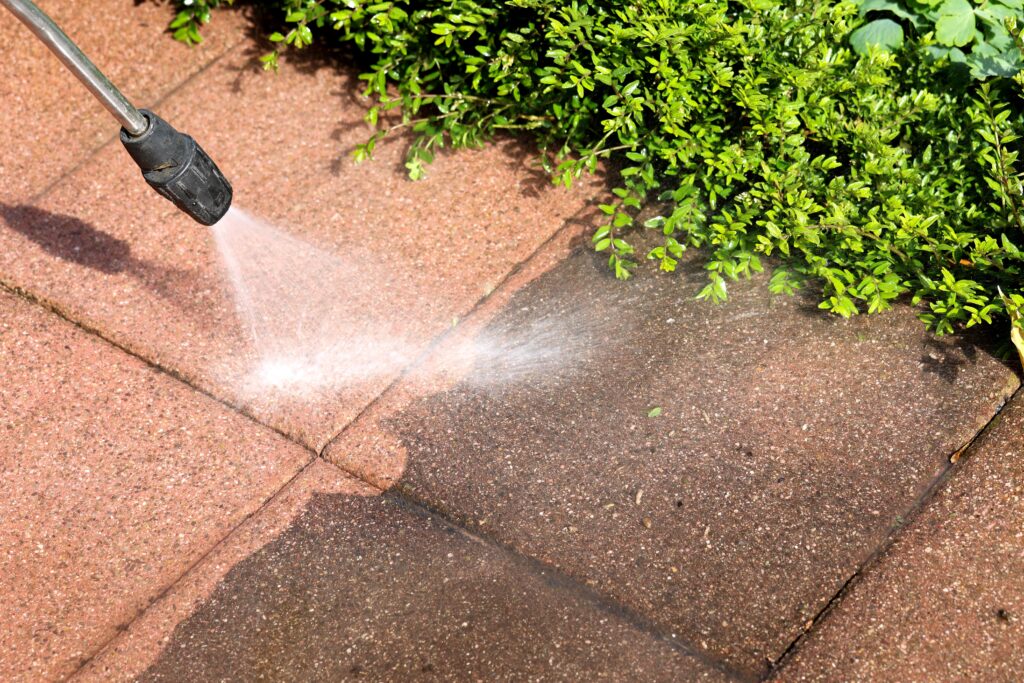
Grime, dust, and weather damage can all add years to your home’s appearance, making it look older, duller, and less cared for than it really is. Fortunately, many of the most transformative curb appeal upgrades begin with something simple: a good cleaning. By refreshing surfaces and handling a few quick fixes, you can reveal the beauty that’s been hiding under the dirt. Even better, these projects are budget-friendly, beginner-friendly, and offer immediate visual rewards.
Power Wash Surfaces: Rent or borrow a pressure washer to clean siding, brick, and concrete. You’ll be amazed at the before-and-after difference.
Fix What’s Broken: Repair cracked trim, reattach loose siding, and touch up chipped paint. Focus on areas that are most visible from the street.
Shine the Windows: Clean all windows, inside and out, for that sparkle effect. Dirty windows dull your home’s brightness.
Storage Tip: Store fragile patio furniture and outdoor accessories in a storage unit while you deep-clean siding, windows, or walkways. This keeps delicate items protected and ensures that your refreshed exterior has a clean, open feel when everything returns to its rightful place.
Pro Tip: For best results when power washing, start from the top of your home and work your way down. This prevents streaking and makes sure dirt doesn’t drip onto areas you’ve already cleaned. Use a wide-angle nozzle for siding to avoid damage, and always test a small area first.
4. Lighting Upgrades
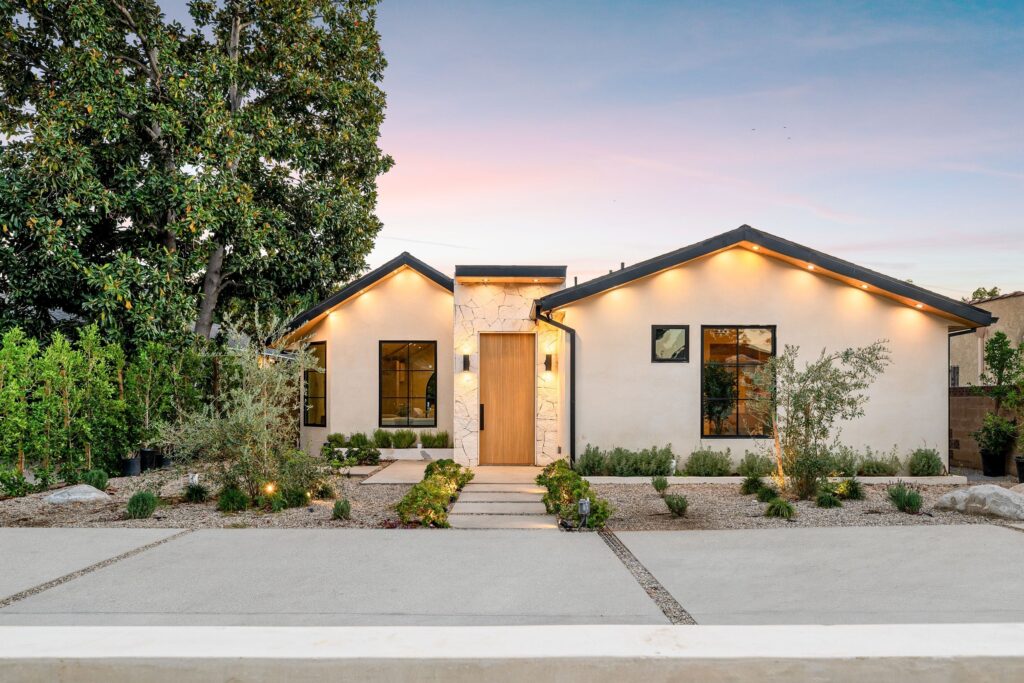
Exterior lighting adds ambiance and safety, especially in the evenings. It’s also one of the easiest upgrades to tackle on your own, and one of the most impactful. Good lighting not only makes your home more attractive at night but also helps deter intruders and creates a warm, welcoming feel for guests.
The cost difference between DIY lighting and hiring a professional can be substantial. A basic set of solar-powered path lights might cost you $30–$50 at a home improvement store, while hiring a landscape lighting company could start at $500–$1,000 for even a small-scale install. Doing it yourself allows for flexibility, creativity, and budget control, without sacrificing quality or visual appeal.
Install Path Lights: Solar-powered lights are energy-efficient and easy to place along walkways or garden beds. They help define your landscaping and add nighttime charm.
Refresh Fixtures: Replace outdated porch lights with modern ones that match your home’s aesthetic. Black or bronze finishes are timeless options that elevate your entryway instantly.
Layer the Lighting: Use a mix of motion-sensor security lights, ambient porch lights, and low-voltage accent lighting to highlight architectural features or landscaping elements.
Storage Tip: If you’re replacing light fixtures, keep the old ones stored safely in your unit in case you ever want to reuse them, or until you’re confident the new ones are the perfect fit for your space.
Pro Tip: For a cohesive look, choose lighting fixtures with similar finishes or styles across different areas of your home’s exterior. This creates visual harmony and helps your updates feel intentional rather than piecemeal.
5. Mailbox and House Number Updates
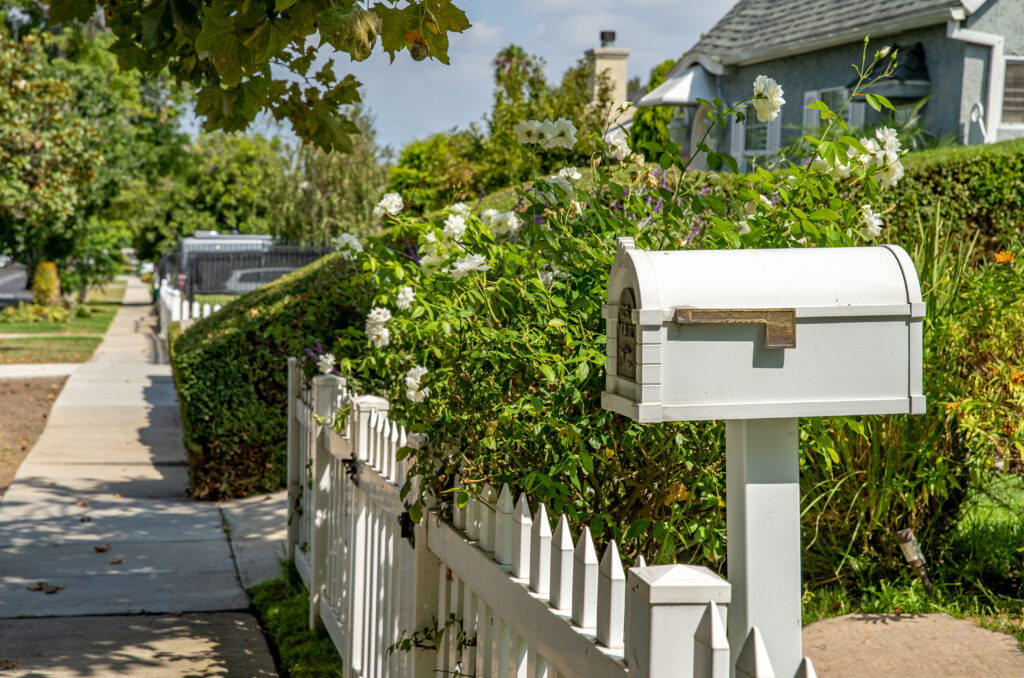
It’s a small detail, but an important one. A dated mailbox or faded house numbers can drag down your home’s appearance and make the entire exterior feel less maintained. These fixtures may seem minor, but they’re among the first things visitors and potential buyers notice when approaching your home. Upgrading them offers an easy, affordable way to modernize your home’s look and add a polished finishing touch that complements the rest of your curb appeal improvements.
Plus, functionality matters just as much as aesthetics. If your house numbers are too small, outdated, or placed in a hard-to-see location, it can make your home difficult to find. Delivery drivers, emergency responders, and first-time guests all rely on clearly visible numbers to locate your property quickly. Making this small upgrade can eliminate confusion while also reinforcing your attention to detail.
Modernize Your Mailbox: Swap the old box for a sleek new version. A post-mounted mailbox with a locking feature adds both security and style. Look for options that complement your home’s color palette and architectural design.
Upgrade House Numbers: Choose a font, size, and material that coordinates with your home’s exterior finishes. Metallics, matte blacks, or modern minimalist numbers can create a polished, cohesive look.
Easy Install: Most mailbox and house number updates require only basic tools like a drill, level, and measuring tape, making this a quick, satisfying weekend win.
Storage Tip: Store packaging, tools, and accessories in your unit during the project. It keeps your driveway and entryway clutter-free, especially during painting or drilling.
Pro Tip: If your home sits further back from the road or has limited street visibility, consider larger house numbers or reflective materials to improve visibility for guests and emergency services alike.
6. Driveway and Walkway Improvements
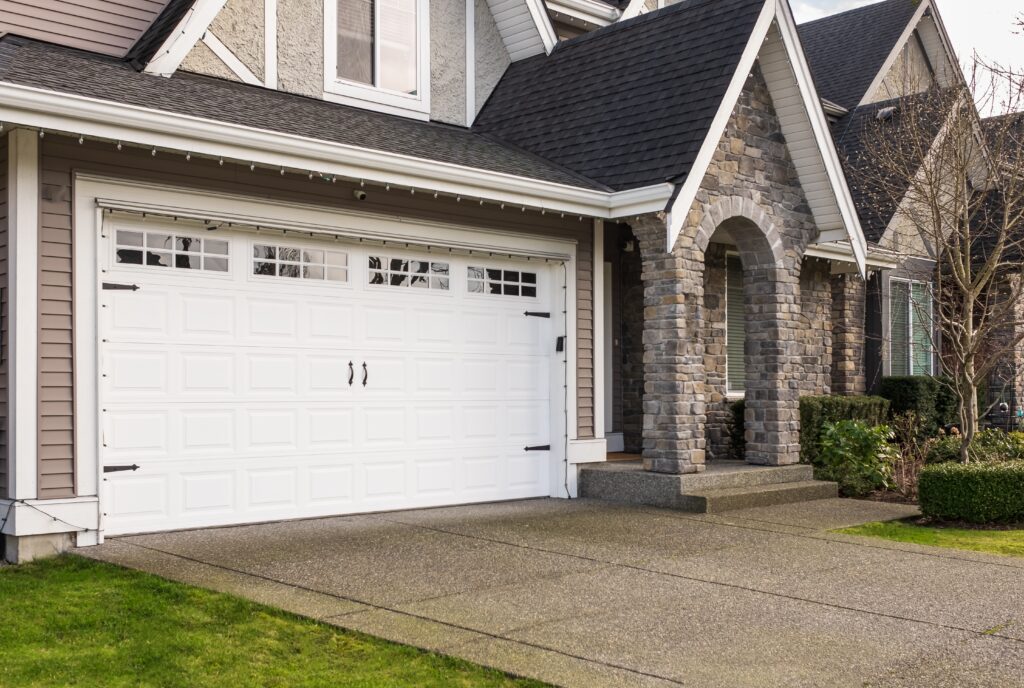
Driveways and walkways take a beating from the elements. Refreshing them improves both curb appeal and safety. Cracks in pavement or crumbling edges can make a home feel neglected, whereas smooth, well-defined paths show that your property is cared for and thoughtfully maintained.
If you’re tackling uneven or cracked concrete yourself, start by cleaning the area thoroughly and using a concrete patch or resurfacer to fill gaps. For larger dips or sloped surfaces, you may need to apply a self-leveling compound. These products are designed to flow evenly across the surface, filling in low spots and creating a smooth finish.
Always follow the manufacturer’s instructions, and use a long-handled squeegee or trowel to spread the compound evenly. If your walkway has multiple uneven slabs, you may also consider concrete grinding or using a sand-and-polymer base for pavers to help reset and level the area.
DIY driveway and walkway repairs can range from $50 to $200, depending on the size of the area and the materials needed. Concrete patch kits, sealers, edging blocks, and gravel are all relatively affordable when purchased in small quantities. In contrast, hiring a contractor for concrete leveling, resurfacing, or custom walkway installation can cost anywhere from $500 to $2,000 or more, depending on complexity and location. For minor fixes, DIY offers major savings.
That said, some repairs are best left to the pros. If your concrete is severely cracked, heaving, or sinking due to foundational issues, or if your walkway has drainage problems or underlying structural concerns, a professional will have the tools and experience to assess the issue and deliver lasting results. In some cases, they may use mudjacking or foam leveling techniques that aren’t accessible to the average homeowner.
Patch and Seal: Use driveway patch to fill in cracks, then apply a sealer for a clean, cohesive look. This protects against further damage and extends the life of your hardscape.
Create Borders: Use bricks, stones, or pavers to add border elements that frame your walkways. Not only do they enhance structure and definition, but they also create a more polished appearance.
Define Pathways: If you don’t have a walkway already, consider installing a basic stepping stone path or gravel walk between your driveway and porch. It’s a budget-friendly upgrade that adds charm and function.
Declutter the Edges: Trim back overgrown grass or weeds, and remove debris from the edges. A clean border makes everything feel more intentional and tidy.
Storage Tip: Keep unused pavers, bags of concrete, leftover sealant, and specialized tools in storage between project phases. It keeps your garage uncluttered and your materials protected until you’re ready to resume work. Keeping your garage clear during projects can help you stay focused and reduce the chaos.
Pro Tip: When patching or sealing concrete, aim for a cool, overcast day to avoid premature drying or streaking. Temperatures between 50–80°F are ideal for most products. And remember, always wear gloves and safety glasses when working with concrete to protect your skin and eyes.
7. Weekend Projects for Immediate Impact
According to Fixr’s 2024 Cost vs. Value Report, exterior home improvements, like garage door replacements and stone veneer, consistently deliver some of the highest returns on investment. Even small upgrades to your home’s façade can yield big rewards when done strategically.
That said, larger improvements like landscaping overhaul, driveway edging, or exterior painting may take more than a single weekend to complete. When tackling bigger projects, consider breaking them into manageable phases, like focusing on garden beds one weekend and edging or mulching the next. This not only prevents burnout but also allows you to adjust plans as you go.
Sometimes even small jobs take longer than expected. Weather delays, missing tools, or unexpected repairs (like uncovering water damage under a rotted board) can stall progress. If you find your yard starting to look chaotic mid-project, use storage bins or a temporary self-storage unit to keep tools, supplies, and decor tucked out of sight. It helps maintain curb appeal while you work.
With landscaping in particular, unexpected issues can include discovering uneven ground, poor drainage, or invasive roots. These can add time and sometimes cost to your project, but being flexible and prepared can help you pivot without losing momentum.
Paint Trim and Shutters: Give your exterior a crisp, refreshed look by painting faded trim or adding a bold color to shutters. Choose hues that complement your front door or roofing for a pulled-together effect.
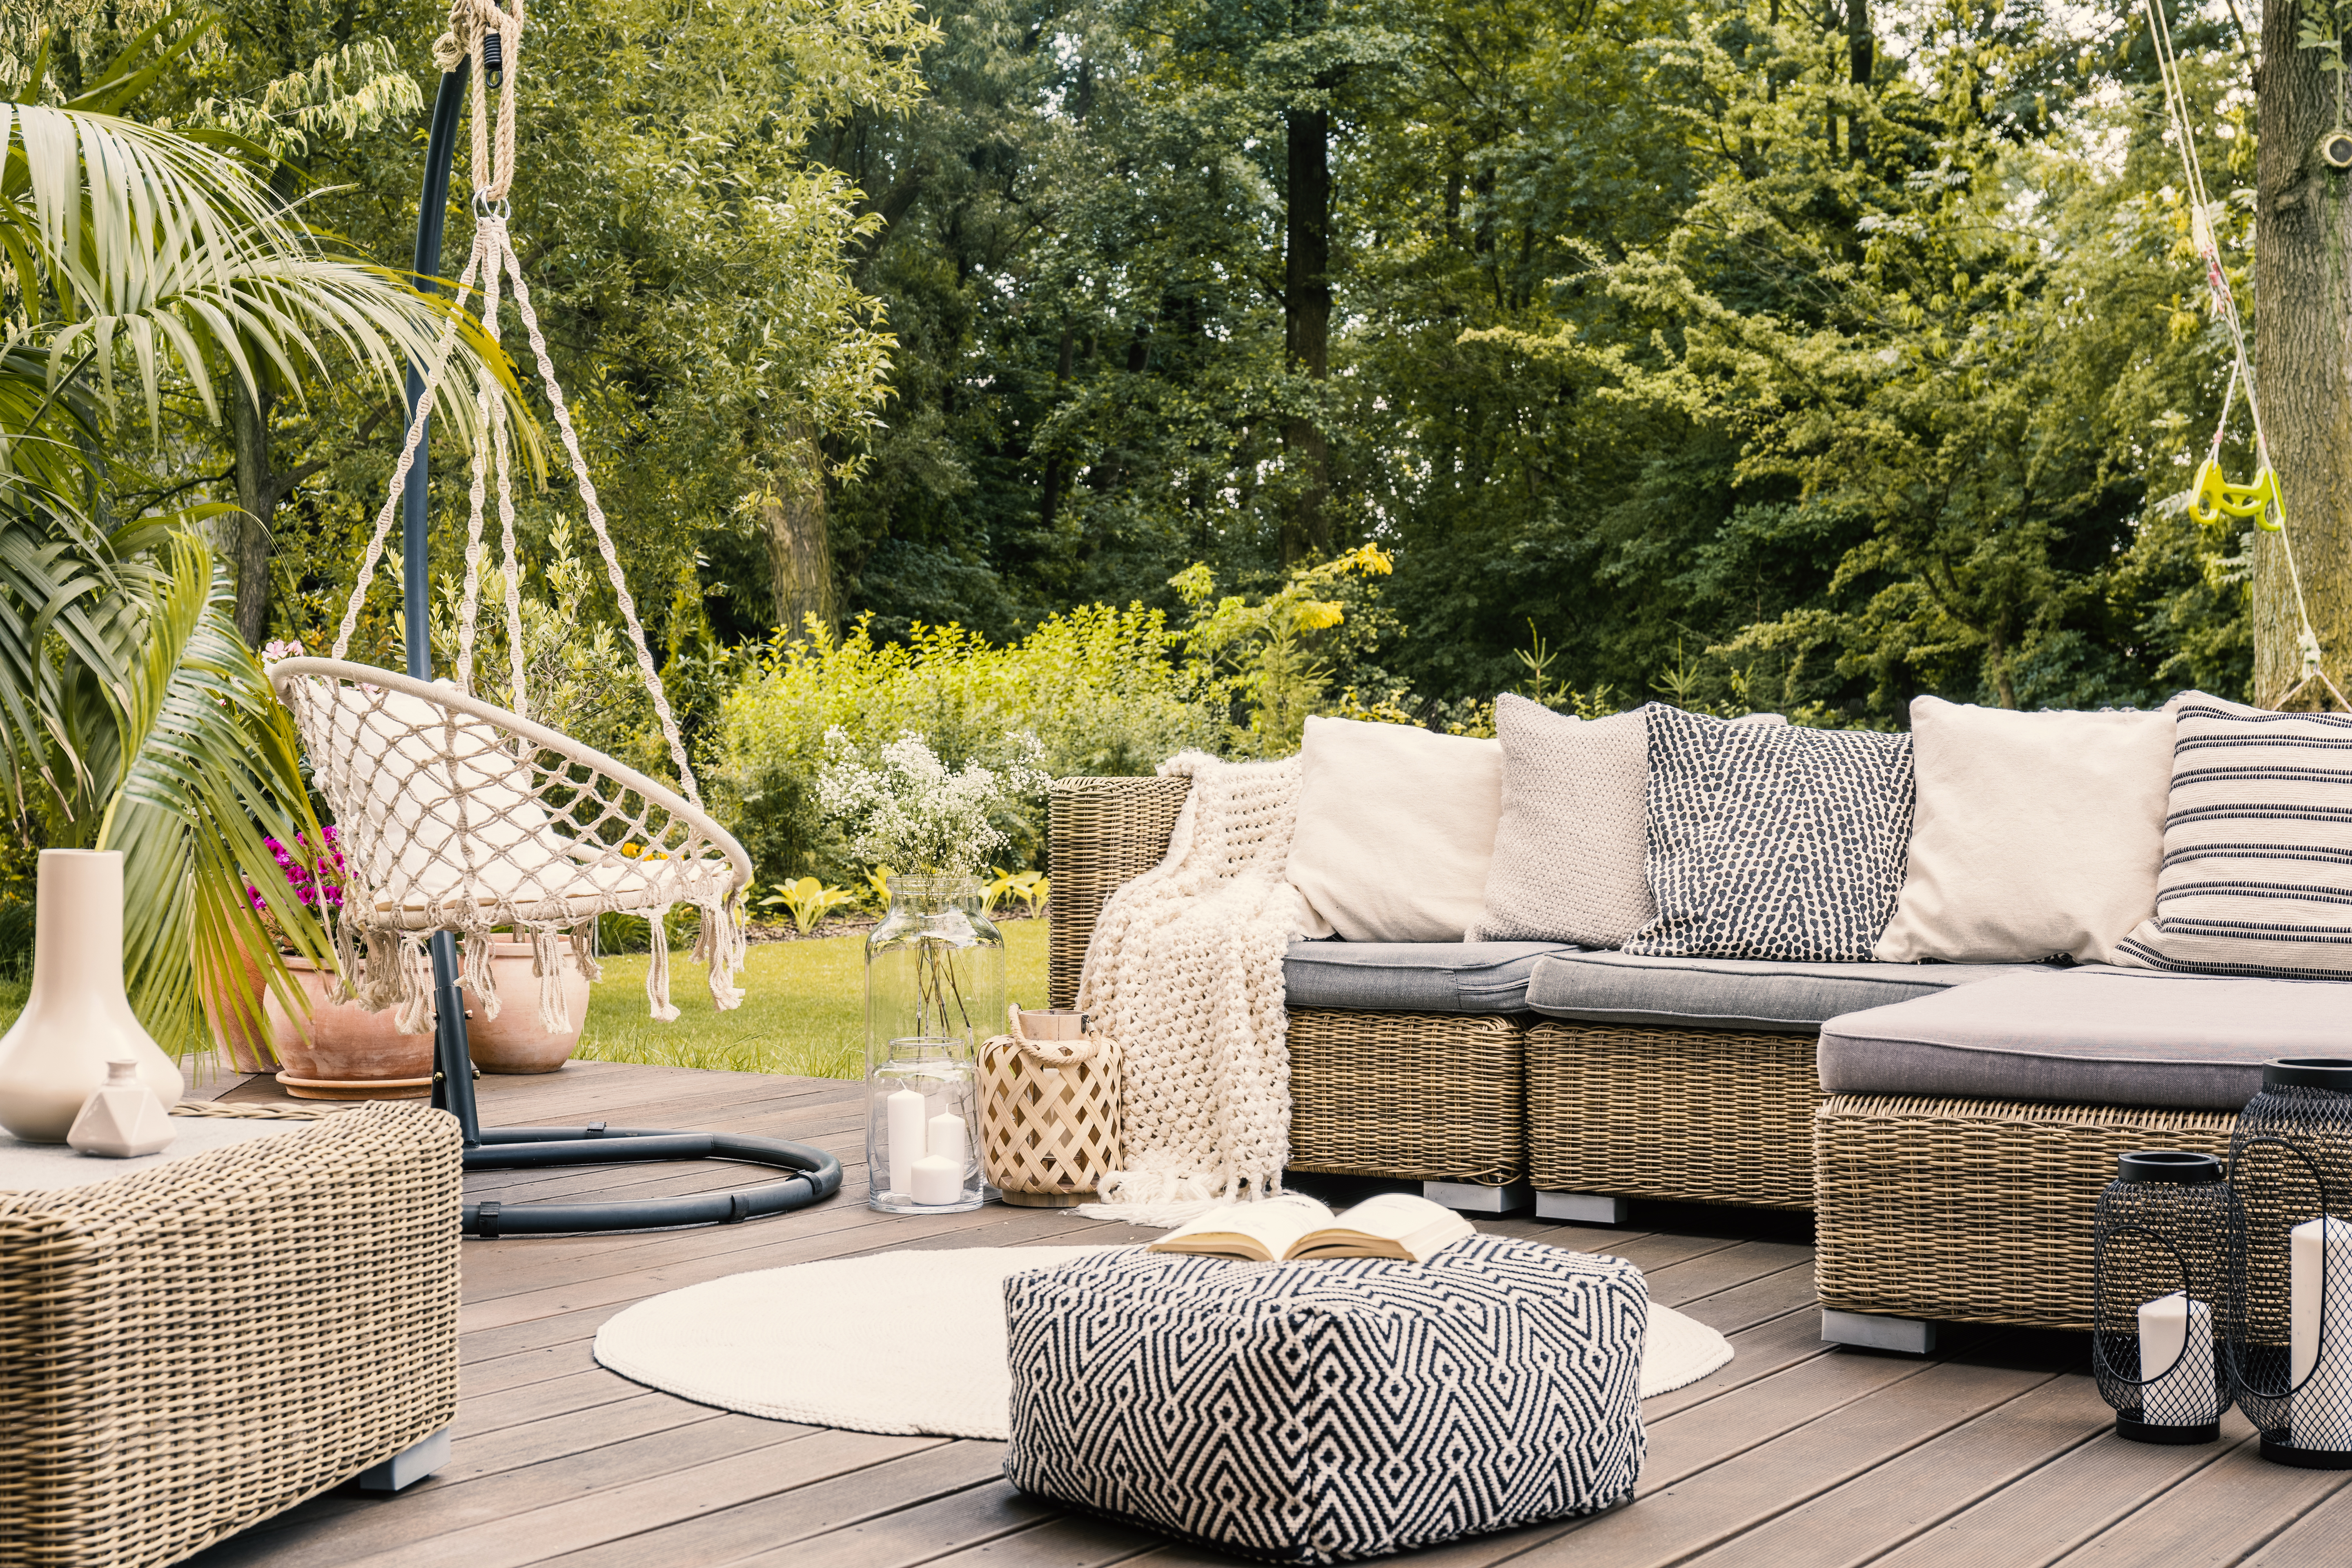
Stage the Porch: A couple of outdoor chairs, a small table, and a patterned rug can transform a plain porch into a charming entryway. Add planters or hanging baskets for a splash of color.
Rotate Seasonal Decor: Whether it’s a festive wreath, summer lanterns, or autumn mums, swapping out seasonal décor helps your home look up-to-date and cared for year-round.
Storage Tip: Updating an old storage shed can also elevate your yard’s visual appeal and increase home value, and your new shed can be used as a storage unit to rotate your seasonal decorations and outdoor furniture. It keeps your current setup clutter-free and ensures you always have the next season’s décor ready to go.
Pro Tip: Take a photo of your home from the street before you begin, then compare it after your weekend upgrades. Sometimes, seeing the transformation from a fresh perspective helps you spot even more ways to elevate your curb appeal.
Self-Storage: Your Renovation Partner
Storage units aren’t just for moves, they’re your secret weapon during home upgrades. Why? Because they give you the freedom to take on projects at your own pace without turning your home into a chaotic mess. Whether you’re juggling work, weather delays, or waiting on supplies, self-storage gives you breathing room to stay organized, stay efficient, and keep your curb appeal intact.
How does it work? Self-storage provides a clean, accessible space that can act as your personal renovation HQ. Think of it as a temporary workshop, supply closet, and clutter buffer all in one. You can stage materials in advance, organize tools between uses, and rotate furniture or décor depending on the season or your project timeline.
Self-storage is especially useful for projects that involve multiple phases, like landscaping, exterior painting, or driveway repairs. During these projects, it’s easy for patios, porches, and garages to become dumping grounds for bags of mulch, boxes of light fixtures, paint buckets, or out-of-season furniture. Instead, store those materials safely off-site so your home exterior continues to look clean and polished as the work progresses.
It’s also the ideal solution when you’re protecting indoor furniture or fragile items during power washing, sanding, or painting. Rather than cramming everything into a guest room or basement, you can create a secure, temporary holding space.
And finally, when comparing the monthly cost of self-storage (often less than a dinner out) to the cost of living with renovation chaos, tripping over tools, or risking damage to your belongings, it’s an easy choice. A little off-site organization goes a long way toward making your curb appeal project more enjoyable and far less stressful.
Protect Your Belongings: When painting, pressure washing, or handling outdoor repairs, use a storage unit to safeguard indoor furniture and décor from dust, moisture, or accidental damage. It’s also a great place to store delicate seasonal items that you don’t want exposed to the elements during major projects.
Create a Staging Area: Storage units offer a clean, out-of-the-way space to temporarily house renovation materials, plan layouts, or prep supplies. Rather than navigating around stacks of mulch bags or lighting fixtures in your garage, keep them sorted and protected off-site.
Stay Organized: Store everything in labeled bins or on shelving systems inside your unit. Make the most of your unit by setting it up for easy access and organization. Having an orderly staging system cuts down on tool-hunting and makes it easier to pick up where you left off each weekend.
Showcase Improvements, Not Clutter: When tackling outdoor upgrades, don’t let your work-in-progress tools, paint cans, or hardware clutter your curb appeal. Use a storage unit to keep the mess behind the scenes so your finished projects can shine.
Short-Term Flexibility: Month-to-month storage rentals mean you only pay for what you need, when you need it. It’s a cost-effective solution compared to living with renovation chaos or renting specialty equipment every time you run out of space.
Whether you’re tackling your front porch or revamping your yard, having a temporary space to store your materials helps you move faster, stay cleaner, and finish stronger.
Transform Your Curb Appeal with Smart DIY and Self-Storage Solutions
Improving your home’s curb appeal isn’t just about making it look nice, it’s about creating a more welcoming, valuable, and enjoyable space. Even small upgrades, like a freshly painted door or better lighting, can boost your home’s appearance and market value.
Throughout your projects, self-storage can make the process easier and more efficient. It gives you room to work, protects your belongings, and helps keep your exterior clutter-free so your progress can shine. Whether you’re rotating seasonal décor, organizing supplies, or staging materials for a weekend project, a short-term storage unit keeps everything clean, safe, and out of the way.
Pro tip: Make the most of your next project by visiting SelfStorage.com to find affordable, convenient self-storage options near you, perfect for your new renovation HQ while you work on your curb appeal.
If you’re planning to sell or relocate, improving curb appeal can support a faster, higher-value sale and help you feel more in control while you decide what’s next. Your dream exterior is just a few smart steps (and one storage unit) away!