Article takeaways
- Renting doesn’t mean settling for bland! Renter-friendly bathroom upgrades can make a big impact.
- From peel-and-stick wallpaper to plug-in lighting, reversible solutions are easy to install and remove.
- On-trend styles like moody tones, classical art prints, and faux finishes are all achievable on a budget.
- Self-storage makes it easier to organize makeover supplies, protect original fixtures, and declutter your space.
- Whether you’re a first-time renter or seasoned pro, these DIY bathroom ideas for renters help you create a space you love, without risking your deposit.
Just because your lease says “no paint” doesn’t mean you’re stuck with builder beige forever. Rental bathrooms are notorious for being bland, dated, and uninspired. But with the right reversible tools, a little storage strategy, and a dose of creativity, your rental bathroom can feel elevated, personal, and beautiful—all without upsetting your landlord.
Struggling with a tiny budget, strict lease rules, or fear of losing your deposit? You’re not alone. Renters often face restrictions on painting, fixture swaps, or permanent installations that make a true bathroom transformation feel impossible. But it doesn’t have to be.
In this guide, you’ll find 10 renter-friendly makeover ideas that are completely reversible, budget-conscious, and designed with style in mind. We’ll cover everything from demo prep to decor, plus tips for working with your timeline and making the most of small spaces.And if you’re short on room to stash your project supplies, old fixtures, or bulk buys? A small self-storage unit can be a surprisingly useful sidekick.
Before You Start: Re-read Your Lease!
Read the fine print. Look out for specific clauses around painting, replacing fixtures, hanging items, or permanent hardware. When in doubt, use temporary materials or store original items in a clearly labeled bin (that self-storage unit could turn out to be a lifesaver here).
Renter Restrictions and Lease Guidelines
Before you pick up any tools or order that gorgeous peel-and-stick tile, make sure you’ve taken the time to understand what your lease allows. Some improvements, no matter how pretty or practical, could cost you your security deposit if they violate the rules.
Common Lease Restrictions
Most leases restrict permanent changes to the unit. This includes:
- Painting or wallpapering without permission (always ask your landlord first on this one)
- Replacing fixtures (like faucets, towel bars, or lighting) permanently (any permanent changes need to be approved by your landlord)
- Installing anything that requires screws or drilling into tile or walls (just make sure if your landlord requires you to putty holes before you move out, that you remember to grab that plaster patch kit!)
Even if you plan to remove upgrades before moving out, your landlord may still charge for damage or cleaning if materials aren’t truly reversible.
If you’re moving into a new place or renewing your lease soon, this guide to signing an apartment lease can help you better understand what you’re agreeing to, especially when it comes to upgrades.
Reversible Improvement Strategies
Luckily, there are plenty of cute and trendy ways you can work around or avoid permanent changes:
- Use peel-and-stick options for wallpaper, tiles, and even countertops
- Hang curtains or storage with tension rods or Command hooks
- Wrap outdated fixtures with vinyl or faux finishes that peel off cleanly
If you’re making changes that require removing original items, store them safely in clearly labeled bins. A self-storage unit can come in handy to keep those items out of the way (and in perfect shape) for reinstalling before move-out.
Essential Tools and Supplies for Renter-Friendly Projects
Before you start hanging wallpaper or swapping out hardware, make sure you have the right tools and renter-safe materials ready to go. Having a well-prepped workspace not only keeps your project stress-free but also helps prevent accidental damage that could impact your deposit.
Need smart ways to keep your tools and supplies out of the way? These small apartment storage hacks can help you keep things organized during (and after) your makeover.
Basic Tool Kit
When it comes to tool kits, not every option is renter-friendly, and as a renter, choosing the right one can save you time, stress, and surface damage. Many off-the-shelf kits focus on basic home repairs but may leave out essentials for cosmetic DIY projects.
Start with a compact kit that includes a measuring tape, level, and a basic screwdriver set. These are your go-to tools for layout estimation (measure before you buy, it’ll save you some time and money!), small adjustments, and they’re great to have on hand if you like to build your furniture rather than buying it pre-assembled.
But don’t stop there. DIY enthusiasts should always snag a roll or two of painter’s tape, a sharp utility knife, a small hammer, a rubber mallet, and even a set of small pliers or a hex key set. These additions will help you handle peel-and-stick installs, mounting temporary shelves, and creating your customizations for anything store-bought items you want to make small changes to.
It’s best to avoid bulky power tools or anything that requires drilling into tile or drywall unless you have express permission from your landlord. And don’t forget adhesive remover and gentle, surface-safe cleaners for when it’s time to take everything down.
Kits designed for light home repair or crafting often strike the right balance for DIY renters: simple, customizable, and non-destructive.
Renter-Safe Materials
Choose materials designed for temporary use that won’t damage surfaces or require permanent installation:
- Peel-and-stick wallpaper, tile, and countertop paper are renter favorites. They come in countless styles, adhere well in humid spaces, and peel off cleanly when it’s time to move.
- Removable hooks, Command strips, and tension rods allow you to hang towels, curtains, or shelving without drilling holes or using nails.
- Mounting putty or Velcro strips works well for lightweight artwork, frames, or even smaller mirrors.
Look for products labeled specifically as “removable” or “renter-safe,” and always test adhesives on a small, hidden area first. Some budget materials may leave residue or struggle in high-moisture environments, so reading reviews and checking for water resistance is worth the extra step.
Budget Planning
Small updates can go a long way, even on a limited budget. A few strategic choices can make your budget stretch surprisingly far:
- Shop discount stores, online marketplaces, or clearance sections for bathroom accessories and renter-safe materials
- Buy in bulk when possible (think peel-and-stick tile packs, multipacks of hooks, or cleaning supplies) and store extras for future rentals
- Reuse versatile items like baskets, shower curtains, or framed art across multiple rooms or apartments to get more value out of each purchase
If you’re working on a multi-phase project, consider budgeting over time. Tackle high-impact, low-cost upgrades first, like lighting or textiles. Then save up for larger investments like peel-and-stick tile, wallpaper, or vanity wraps (those decorative coverings that can be applied to the outer surfaces of furniture or objects, like countertops, cabinet doors, or drawers). These wraps are typically made from contact paper, vinyl, or peel-and-stick films, and they offer a stylish way to hide dated finishes without making permanent changes.
Pro Tip: If you’re buying in bulk, storing seasonal decor, or removing original fixtures, you might want to utilize your storage unit for safekeeping and organization.
Not sure whether to store items short-term during your project or keep them for future rentals? Here’s a helpful breakdown of long-term vs. short-term storage options to help you decide.
10 DIY Renter-Friendly Bathroom Makeover Ideas

With the right tools, a little creativity, and an eye for design, or a great how-to guide that you found online, you can reimagine your bathroom into a space that feels curated and personal, no paint or permanent changes required!
The following renter-friendly makeover ideas range from quick wins to weekend projects, all designed to work within common lease restrictions and modest budgets. Whether you’re drawn to bold aesthetics or just want better lighting and storage, there’s something here for every renter ready to make their bathroom feel like home, even in a small space. Check out these small space living tips for more ideas on maximizing comfort and function.
1. Creating Statement Walls With Removable Wallpaper and Wall Decals
Create a feature wall behind your vanity or above the toilet using peel-and-stick wallpaper, a perfect, renter-friendly way to bring bold design into a space without risking your deposit. From moody florals and gothic flora and fauna to classical fine art prints, there are endless patterns to suit your aesthetic.
To install your peel-and-stick wallpaper, start by cleaning and drying the surface of the walls thoroughly. Use a level and painter’s tape to mark your starting point. You could also snag a laser level to make sure you’re following a crisp straight line if you don’t want to go the painter’s tape route. Then, apply the wallpaper slowly from top to bottom, smoothing as you go to avoid air bubbles. For best results, use a wallpaper smoother or a clean cloth and work in small sections.
Peel-and-stick wallpaper is especially effective in creating an accent wall without the need for paint or permanent adhesives. Just be sure to choose a bathroom-safe vinyl that can handle steam and moisture without peeling.
Bonus Idea: If you’d like to take it a step further, add coordinating removable decals or peel-and-stick tiles around your mirror or shelf to tie the backsplash into your design without overcommitting to a full wall treatment.
2. Temporary Faux Vanity Makeover
You don’t need a full demo to give your vanity a facelift. Use high-quality contact paper or peel-and-stick vinyl to resurface your cabinet doors, drawer fronts, and even the countertop. Marble, terrazzo, and butcher block designs are all popular, renter-safe vinyl options that add style without permanence.
For outdated or generic cabinet hardware, you can swap in removable adhesive knobs (if the existing knobs are removable) or temporary screw-in handles (if the existing hardware is also screw-in style, to avoid drilling any hardware holes!). Make sure you keep all original hardware stored safely for move-out.
Trending Tip: Matte black pulls, antique brass knobs, or even faux crystal handles can give your vanity an elevated, customized look, all while staying within lease boundaries.
3. Upgrade Lighting Without Wiring
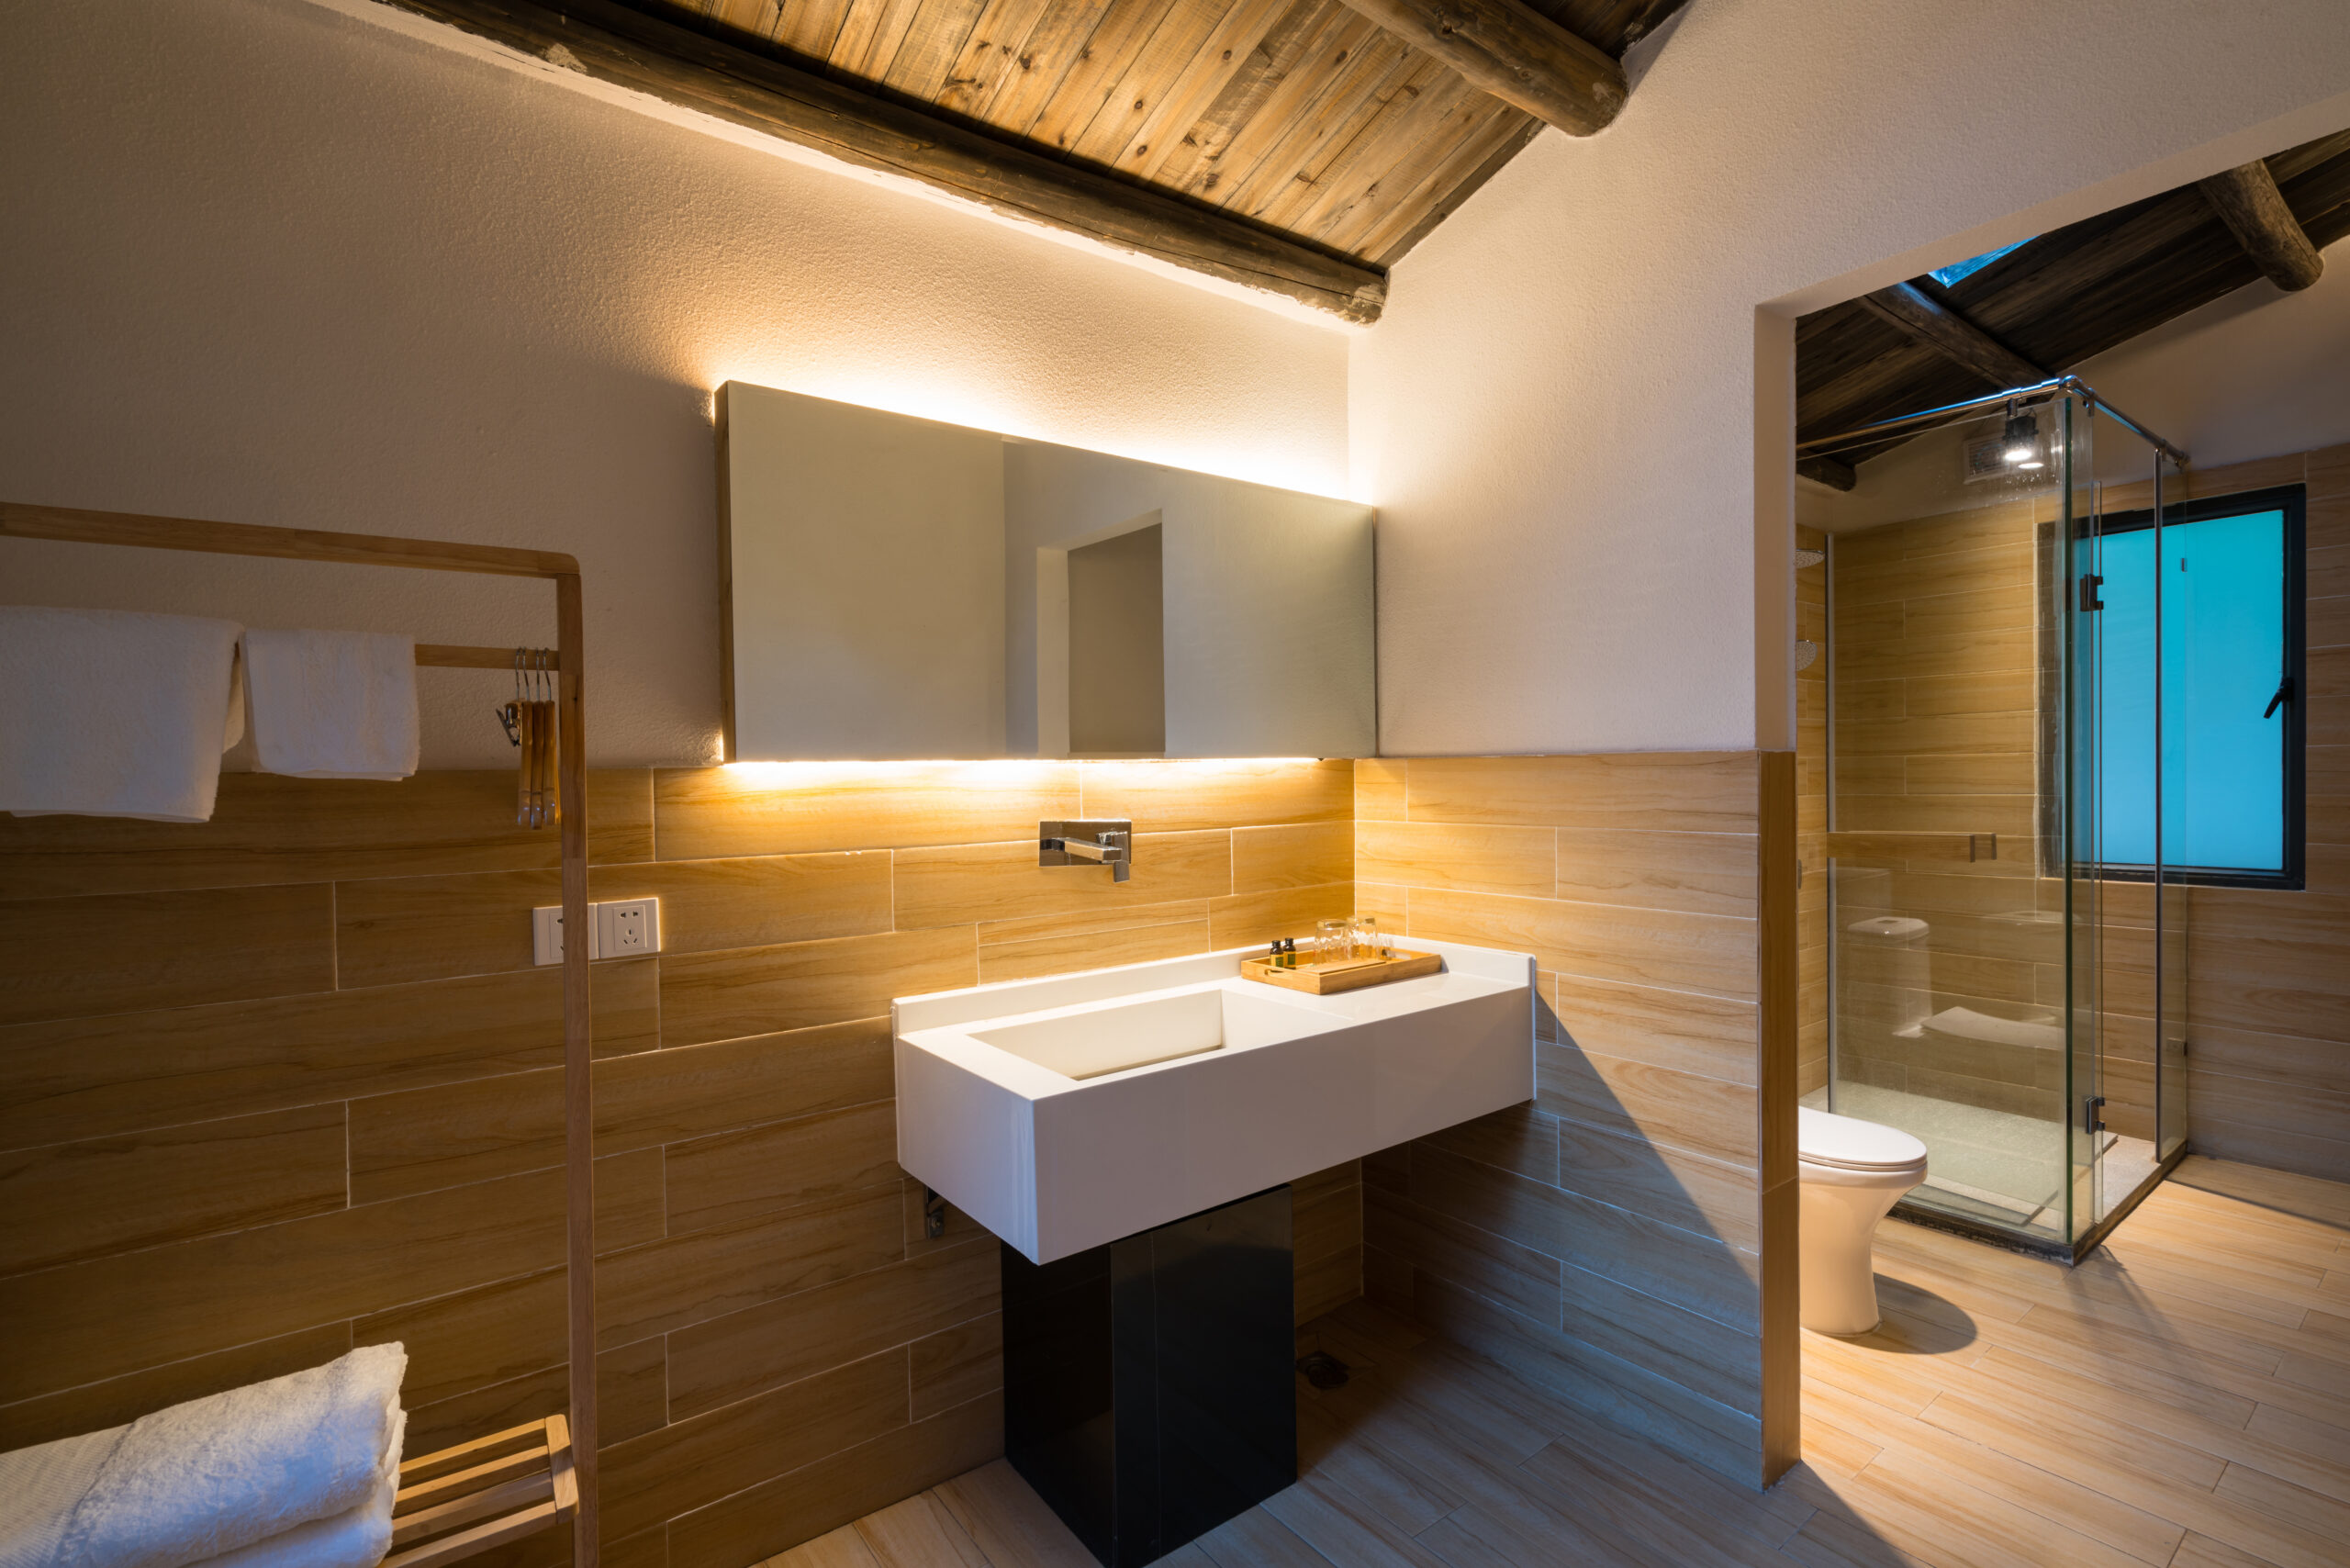
Most rentals don’t allow renters to do their own electrical work, but that doesn’t mean you have to settle for poor lighting. Battery-operated LED strip lights are a renter’s best friend. They’re flexible, adhesive-backed, and easy to install around mirrors, under cabinets, or even along the ceiling line for ambient lighting. Choose dimmable options to create a spa-like glow without hardwiring anything.
If your vanity lighting is outdated or harsh, consider covering the fixture with a removable light cover or shade made from frosted plastic or fabric that can clip on or attach with magnets. This softens the glow and instantly elevates the space without needing to replace the fixture itself.
You can also layer in plug-in pendant lights or wall sconces for added ambiance and task lighting. These plug-in options offer a dramatic visual impact without requiring hardwiring. Just be sure to route cords neatly using cord covers or clips that blend into your wall color (and of course, are removable and don’t leave any damage behind when you remove them). Look for fixtures with dimmer switches or adjustable arms to get the look and flexibility of built-ins, minus the permanent commitment.
Storage Tip: Always save the original light cover and hardware in a bin labeled by room so you can quickly reinstall them when it’s time to move out.
4. Mirror Framing Meets Smart Storage
A bland, frameless mirror can feel like a missed design opportunity in any bathroom. Stick-on molding or adhesive mirror borders are an easy, renter-friendly way to give your mirror a great design and personality. Faux wood, matte black metal, or even brushed gold trims let you tie your mirror into your bathroom’s design story, instantly elevating the space without replacing a single fixture.
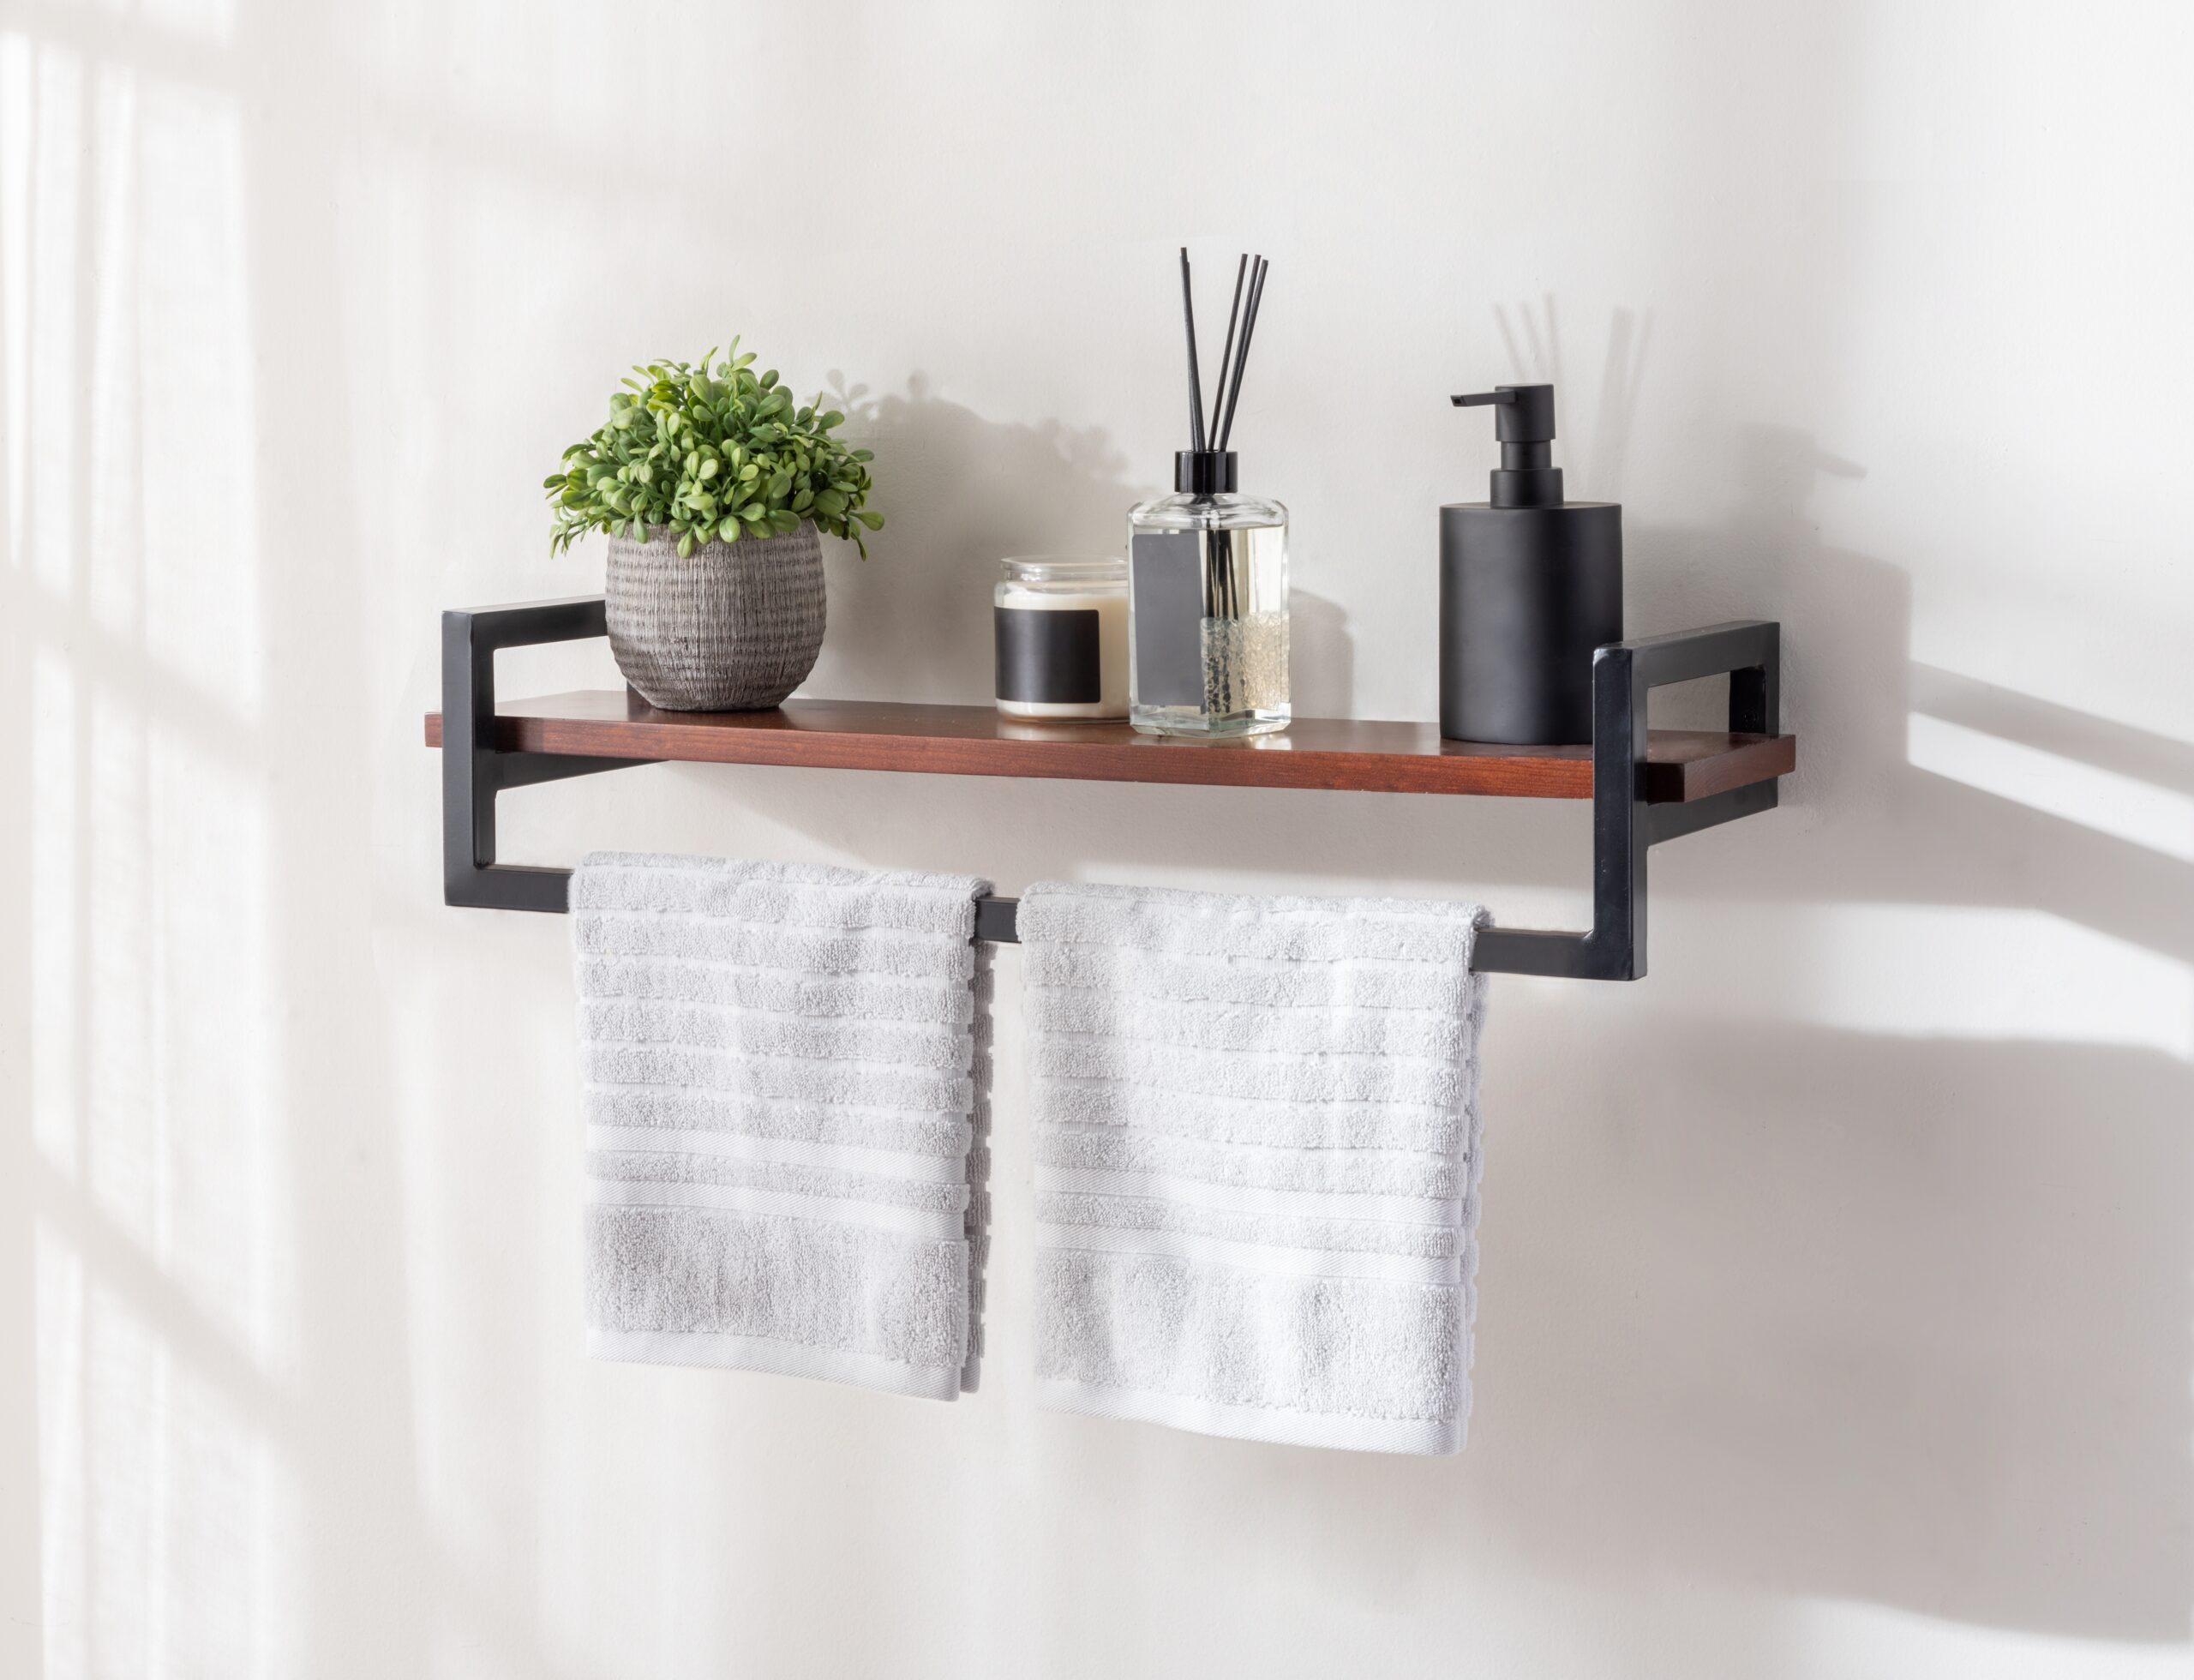
That same mirror often signals a secondary issue: not enough storage. Luckily, what makes a mirror more stylish can also guide your eye upward—and that’s where smart, vertical storage comes in. The space around your mirror, above your toilet, or along open walls can become floating shelves, over-the-toilet shelving units, tension-rod shelving, or even freestanding cabinets for additional storage.
These solutions are perfect for stashing towels, candles, or backup supplies without drilling holes or committing to anything permanent. The key is to balance open storage (like baskets for rolled towels or skincare) with concealed bins that keep visual clutter in check.
Style Note: Framing your mirror helps anchor the space visually, and doubling down with organized vertical storage creates a cohesive, elevated bathroom that feels more intentional and less temporary.
Looking to make the most of a narrow or cramped bathroom layout? Check out these vertical storage ideas for small spaces to add functionality without adding clutter.
5. A Renter’s Textile and Tile Refresh
Don’t underestimate the power of textiles and flooring when it comes to giving your bathroom a serious mood shift. Start from the ground up with removable vinyl tiles. They come in all kinds of finishes and patterns (like marble, terrazzo, or matte black) and can be installed directly over existing flooring without damaging the tiles underneath.
Then layer in coordinated textiles to drive your aesthetic home. A high-impact shower curtain sets the tone, while matching hand towels and bath sheets create visual cohesion. Layering rugs, such as a low-profile mat topped with a plush runner, adds comfort and depth, especially in front of the sink or tub.
Lean into rich, expressive colors like forest green, deep plum, or terracotta for a goth or vintage-inspired look. Or go with neutrals and mixed textures for a spa feel.
Try This Combo: Waffle-knit shower curtain + oversized Turkish towels + a textured runner layered over vinyl tile for a boutique feel with a trendy twist.
6. Renter-Friendly Hardware Swaps
Updating hardware might seem like a scary or difficult task, but it can completely change how your bathroom feels. Start by replacing towel bars and rings with designs that match your aesthetic.
Brushed brass, matte black, or even acrylic styles are easy to find with no-drill installation kits or Command hooks. Swapping out old cabinet pulls and knobs is another fast fix, and temporary adhesive-backed options or low-impact screw-ins (if there are pre-drilled holes) make them easy to change out when it’s time to move.
If your faucet is outdated or clashing with the rest of your style, consider a removable faucet wrap or clip-on cover. These non-permanent solutions can give your sink area a sleek, uniform look without plumbing work or permanent modifications.
Trend to try: Create your own hardware theme throughout your bathroom for a cohesive, polished finish, just make sure every piece is renter-safe and reversible.
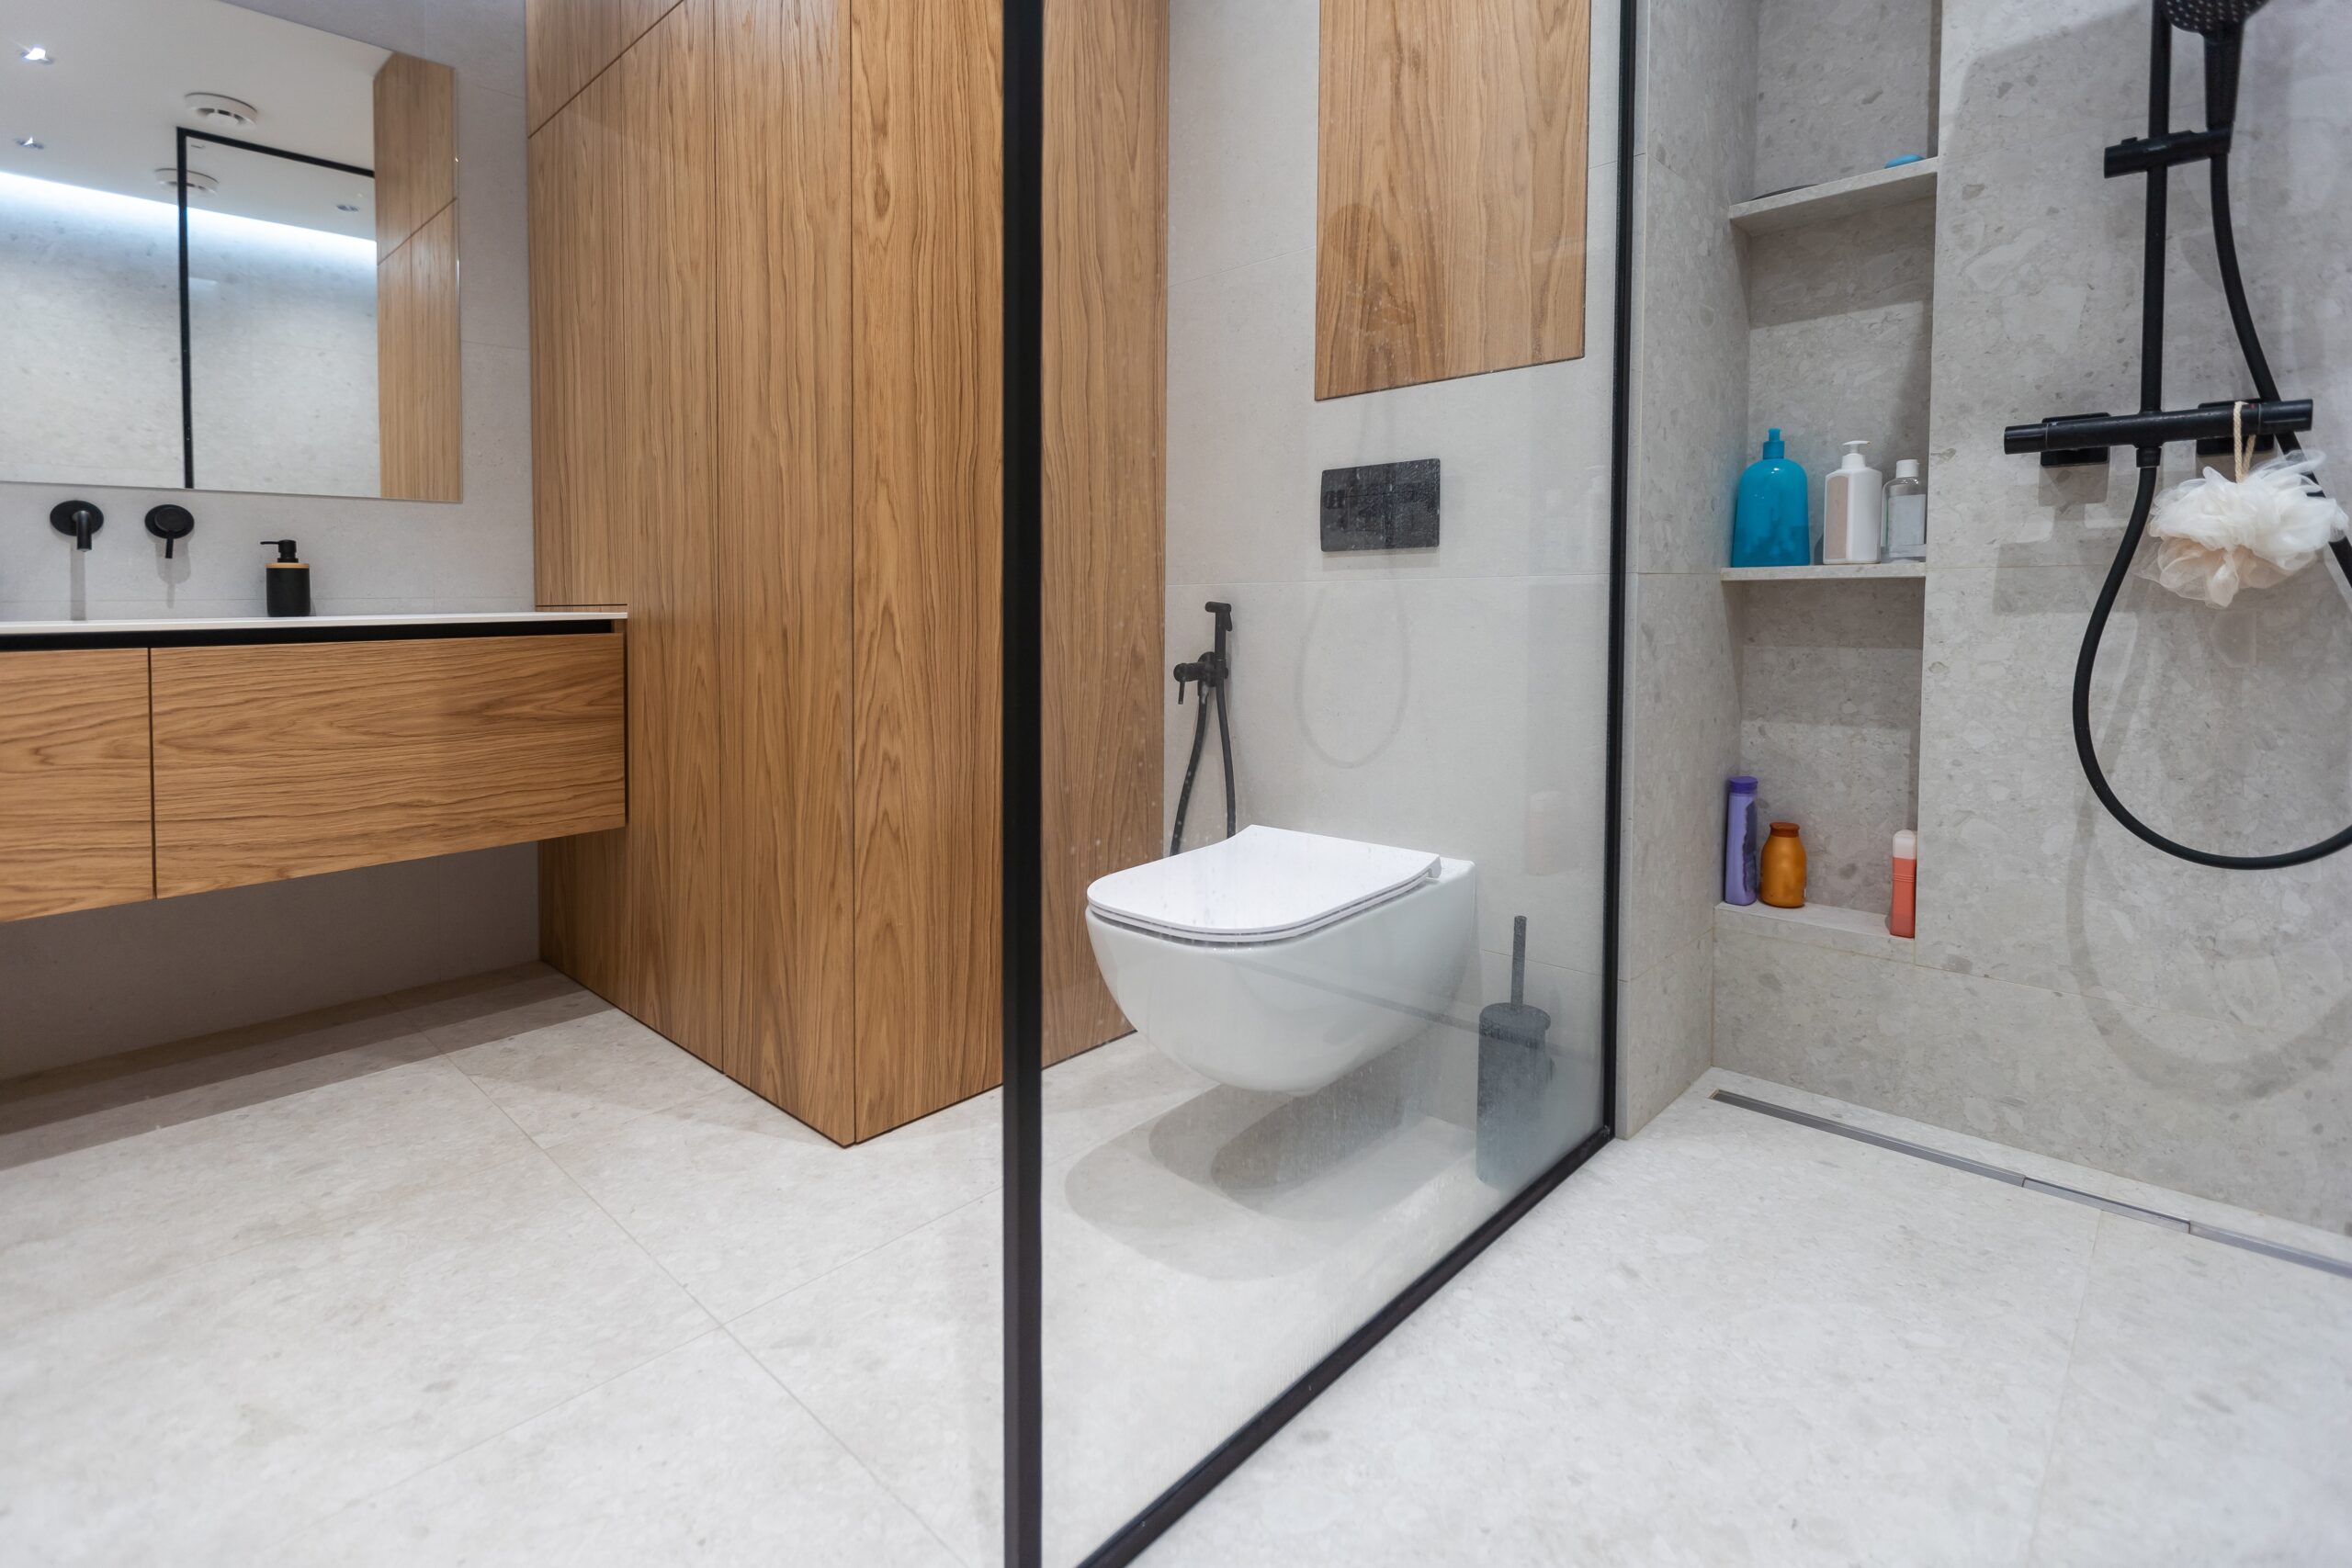
7. Stylish Shower and Tub Upgrades for Renters
Add removable shower caddies or corner organizers with suction cups to keep your bath essentials tidy without drilling into the shower tile. These shower storage systems come in a range of finishes and can be repositioned as needed.
For added safety and style, apply decorative non-slip bathtub decals to cover scuffs and reduce the risk of slipping. They’re a great way to inject some personality while also being practical.
If your tub or shower edges are looking a little rough, reseal them using temporary caulk or adhesive caulk tape, a renter-safe solution that refreshes the look without leaving residue.
Upgrade Tip: Consider a rainfall showerhead attachment that twists on and off existing plumbing with no tools. It offers a luxe experience without the commitment.
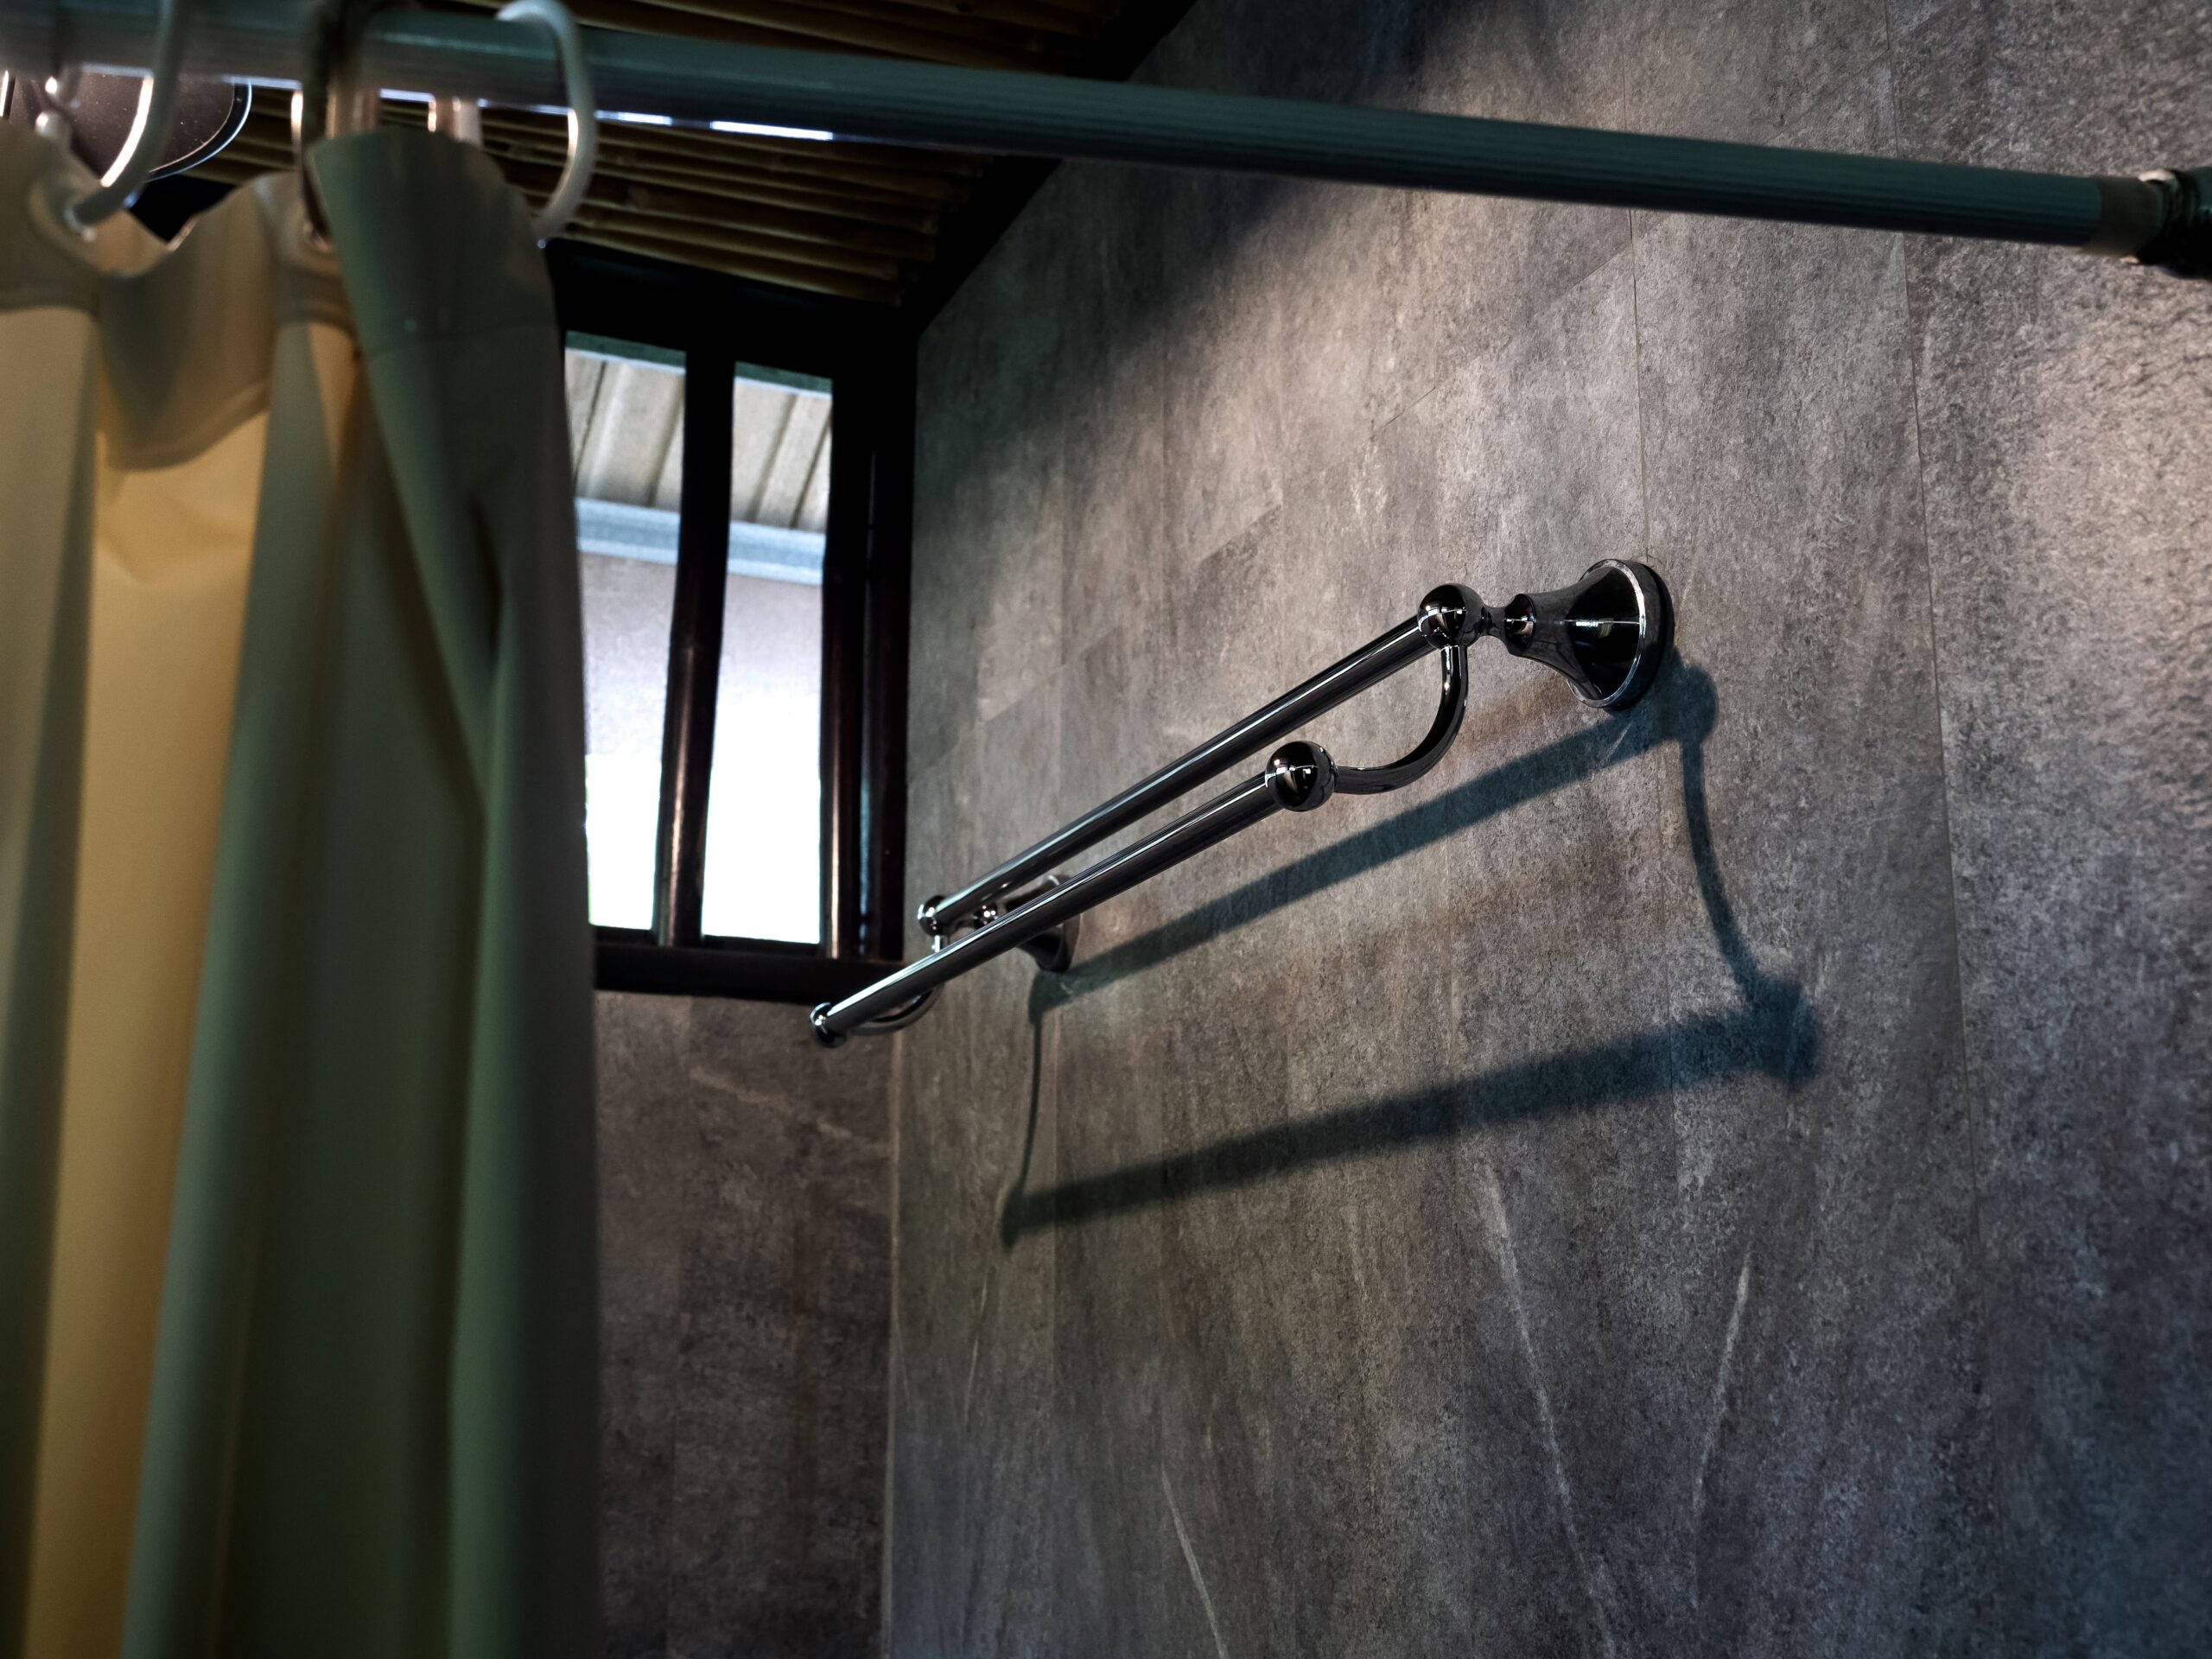
8. Window Privacy Solutions Without Drilling
Windows are often overlooked in bathroom upgrades, but they offer a perfect opportunity for both privacy and style. Start with frosted peel-and-stick window film. It’s a renter-safe way to diffuse light and keep your space private without sacrificing natural light.
These films come in a variety of textures and patterns, from minimalist matte to etched floral designs, and they can be trimmed to fit any window.
If you’re after a softer look, add some curtains using tension rods or magnetic curtain rods (great for metal window frames). This adds a layer of texture and warmth while keeping your landlord happy.
For something more playful or on-trend, decorative window clings offer a low-commitment way to add personality to glass surfaces. Think stained-glass motifs, modern geometrics, or classic frosted vines.
Design Idea: Use sheer white curtains with a gothic bronze tension rod to blend lightness and drama, or layer a privacy film with a bold curtain for a high-contrast, designer-inspired finish.
9. Bring in The Greens

Bathrooms harbor humidity, and plants love to soak up that heat! Add some vibrance, air purification, and that indoor-outdoor, luxury spa feel to your bathroom with some plants. You can opt for humidity-loving varieties like pothos, ferns, or snake plants, all of which thrive in steamy environments and need minimal maintenance, throughout your home, including your bathroom! If you’re short on surface space, use removable wall planters, adhesive-backed pots, or over-door hanging systems to add greenery without damaging walls.
Not ready to commit to watering? Afraid your green thumb is more of a kill-everything-I-touch thumb, you could also look for some high-quality artificial plants as a solid alternative. Look for UV-resistant faux greenery, preserved moss wall panels, or even realistic trailing vines to bring texture and life to your bathroom without the upkeep.
Great Picks: Pothos, snake plants, ferns, air plants, or preserved moss wall tiles—real or faux.
10. Decorative Accessories and Color Coordination
Use removable wall art and prints in renter-safe frames to bring personality into the space without damaging the walls. A curated decor collection makes a small bathroom feel cohesive and purposeful, not pieced together.
Add a soap dispenser and toothbrush holder set that matches your theme, and pull everything together with a clear, cohesive color palette, whether you’re going bold with jewel tones or soft and airy with earth-toned neutrals.
Temporary themes are a great way to explore trends without committing long-term. Lean into seasonal refreshes or test out a moody, art-inspired vibe by rotating a few key accents.
Style Trend: Classical art themes (Greek busts, museum prints) are trending hard. Pair with navy, gold, and cream for an editorial or straight-out-of-a-magazine look.
Budget Breakdown and Implementation Tips
Bathroom makeovers can quickly become overwhelming if you dive in without a clear budget or plan. Whether you’re working with just a little cash or are ready to invest in a full transformation, this section will help you organize your priorities, keep costs under control, and plan a smooth rollout from prep to installation.
Plus, you’ll find tips for making the most of your materials and how self-storage can help you stay organized every step of the way.
Not sure what size storage unit you need for your bathroom materials and upgrades? This storage unit size guide can help you choose the right fit.
Project Budget Planning
Whether you’re working with $50 or $400, there’s plenty you can do to transform your rental bathroom.
Low Budget ($50–150): Stick to high-impact, low-effort updates like lighting swaps, peel-and-stick accents, and fresh textiles. These upgrades add character without straining your wallet or your lease.
Mid-Range ($150–400): With a bit more flexibility, you can layer in statement wallpaper, removable flooring, upgraded storage, and renter-safe hardware changes. Prioritize items that feel the most outdated and make a visible impact.
Money-Saving Strategies
- Weigh the cost of DIY versus pre-assembled decor or fixtures. Sometimes assembling something yourself costs less and gives you more freedom to customize the sizing or finish.
- Buy materials in bulk if you know you’ll use them again, this includes things like hooks, peel-and-stick tile, adhesive strips, or even towel sets. Store extras in a labeled bin for future use or next-move transitions.
- Repurpose what you already own. A basket from your living room might make the perfect towel caddy, and small furniture like stools or trays can double as bathroom decor or storage.
- Don’t forget to comparison shop! Check local hardware stores, online marketplaces, and buy-nothing groups to stretch your dollars further.
For even more ways to maximize storage in tight spaces, these small apartment storage hacks offer clever, affordable solutions, perfect for organizing supplies or repurposing multi-use items.
Step-by-Step Implementation Tips
Pro Tip: To keep your renovation materials, off-season decor, or original bathroom fixtures organized, these tips on how to organize your storage unit can help streamline your space and reduce move-out stress.
Maintenance and Move-Out Preparation
Keeping your renter-friendly upgrades looking their best and making move-out stress-free comes down to smart cleaning, careful removal, and organized storage. These tips will help ensure your space stays stylish now and your security deposit stays safe later.
When it’s time to move or clear out your stored items, this step-by-step guide to cleaning out a storage unit can help make the process faster, easier, and more efficient.
Cleaning and Care
- Use gentle, non-abrasive cleaners designed for temporary materials like contact paper, peel-and-stick tile, and decals. Avoid bleach or scrubbing pads that could damage surfaces or cause fading.
- In humid spaces, prioritize moisture management. Keep a window cracked when possible, or use a small dehumidifier or ventilation fan to prevent adhesives from loosening over time.
- Regularly check for signs of lifting or curling on the edges of wallpaper, tiles, or decals, and press them down or replace as needed.
Removal and Restoration
- When it’s time to move, remove all temporary upgrades slowly and methodically. Use a hair dryer or heat gun on low to soften adhesives and reduce residue.
- Avoid peeling in a rush—stretching or tearing materials can leave behind adhesive or damage surfaces.
- Clean all surfaces thoroughly after removal and restore any original fixtures you stored. Use spackle and touch-up pens for any minor wall damage.
Moving to Your Next Rental
- Pack and label reusable upgrades like shower curtains, hardware, and decor pieces so they’re ready for your next bathroom.
- Store peel-and-stick items flat between sheets of wax paper or backing paper to preserve their stickiness.
- Use self-storage to keep seasonal or bulky items, like over-the-toilet shelves or large mirror frames, organized and out of the way between moves. Having your upgrades in one place means your next rental can be styled just as quickly, without needing to start from scratch.
Bonus Tip: Keep an inventory of all the changes you made and receipts for materials. Not only does it make move-out easier, but it also helps you re-use and re-style in your next space without guesswork.
And when it’s finally time to pack up for your next place, use this helpful moving out checklist for renters to make sure nothing gets missed, especially those saved receipts, original hardware, and all your renter-friendly upgrades.
Wrapping Up Your DIY Renter-Friendly Bathroom Transformation
No matter your lease limitations or budget, you have the power to personalize your bathroom without making permanent changes. From removable wallpaper and contact paper upgrades to smart lighting and clever storage, renter-friendly strategies let you bring personality and polish to even the most basic space.
These creative, budget-conscious improvements not only help you feel more at home, they also stay within lease boundaries and protect your deposit. Ready to revamp your rental? Store your makeover materials, backups, or decor between upgrades with a convenient self-storage unit from SelfStorage.com.
FAQs
- Swapping showerheads or fixtures (and keeping originals for return)
- Applying peel-and-stick wallpaper or floor tiles
- Updating visuals with textiles (shower curtain, towels, mats)
- Adding battery-powered LED strips or plug-in sconces
Mid-range ($150–$400): Add removable wallpaper, vinyl flooring, storage units, or updated fixtures. Prioritize upgrades to areas you see or use daily for maximum visual impact.
- Use stable, secure ladders or step stools in well-lit areas.
- Follow the manufacturer’s instructions for removing adhesives. Heat gently to minimize residue or adhesive-related damage.
- Keep clear before-and-after photos to document restorations and avoid disputes with landlords.
- Don’t over-adhere! Some landlords report damage from heavy-duty strips causing paint pulls. Use small test patches first.
- Cabinet pulls and towel bars: Peel-on adhesive options or low-impact screw-ins. Store originals in labelled bins.
- Faucet covers: Clip-on or vinyl wraps conceal outdated fixtures while leaving original hardware intact.
- Showerheads: Replace with non-permanent, twist-on styles and save the old unit for move-out.