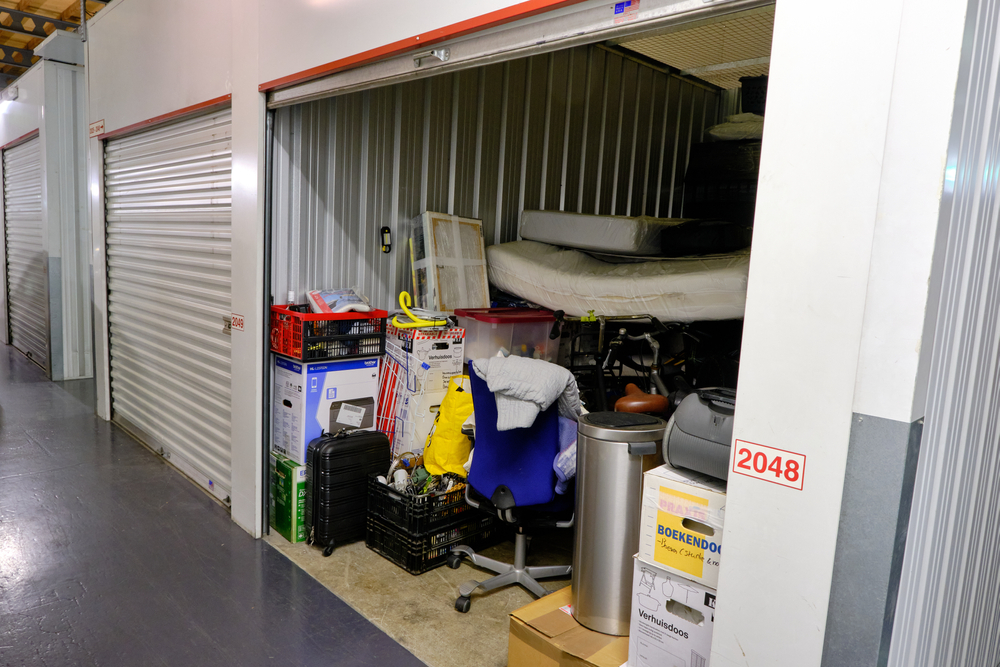
If you’ve spent any amount of time browsing SelfStorage.com, you know how useful and cost-effective a good self-storage facility can be for saving space in your home. However, if you’re not following the best practices to organize and regularly check on your unit, you can easily wind up with an unwieldy, cluttered mess.
Thankfully, there are plenty of steps to clean up your unit, whether you need to get it unpacked to move out or you just need to get your clutter back in order. In this article, we’ll go over some steps to reorganize and declutter your unit with a minimum of fuss.
Steps to Clean Out a Storage Unit
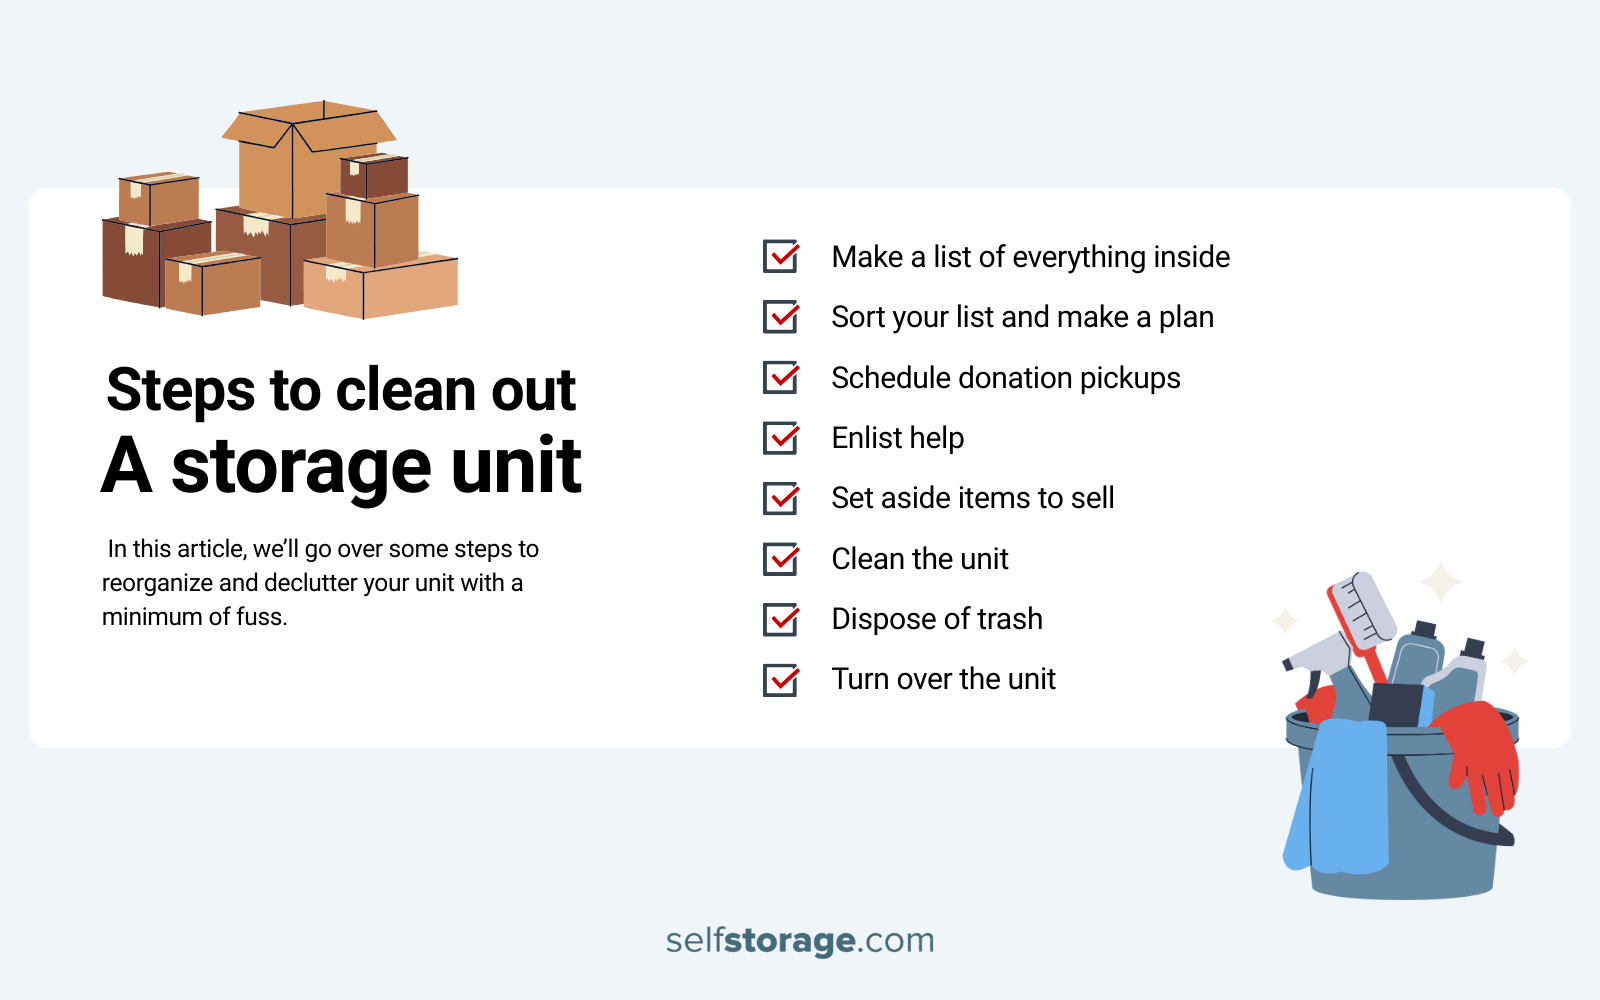
Step 1: Make a List of Everything Inside
We recommend making a comprehensive list of what you’re storing early on in the storage process and labeling your boxes as you pack them, but if you haven’t done this yet, better late than never. Go through your unit (even if it’s messy) and write or type up a list of everything you’ve got stored, and clearly label each of your boxes so it’s easy for you to tell what’s inside.
The clearer the list, the easier it will be for you to clean up your unit. You can also use your list to determine which items you might need to get rid of, donate, or sell–this list of the most common items found in storage unit auctions can help you identify items to make a little extra money.
Step 2: Sort Your List and Make a Plan
Once you’ve got your list in hand, use it to determine what items in your storage unit you can reasonably get rid of, then break that list down into what you want to sell, donate, and throw away. This sorted list will make it easier for you to draw up a game plan for cleaning out the unit.
Draw up a timeline for your cleaning project, make a list of supplies you might need while cleaning, and figure out how much help you’ll need to make the job easier. A very big job may require you to rent a truck or other moving equipment, so draw up a budget as well.
Step 3: Schedule Donation Pickups
Depending on how much you plan on donating and what items you have on hand, you may need to schedule a pickup at a charity drop-off ahead of time. Organizations such as Habitat for Humanity and Goodwill, as well as smaller local charities and thrift shops, will often allow you to schedule a free pickup for large items like furniture.
A smaller donation can often be dropped off without any warning, only requiring you to drive up to the location while they’re open and pick up a tax-deductible receipt. Just remember to carefully research items that charities don’t accept, such as mattresses.
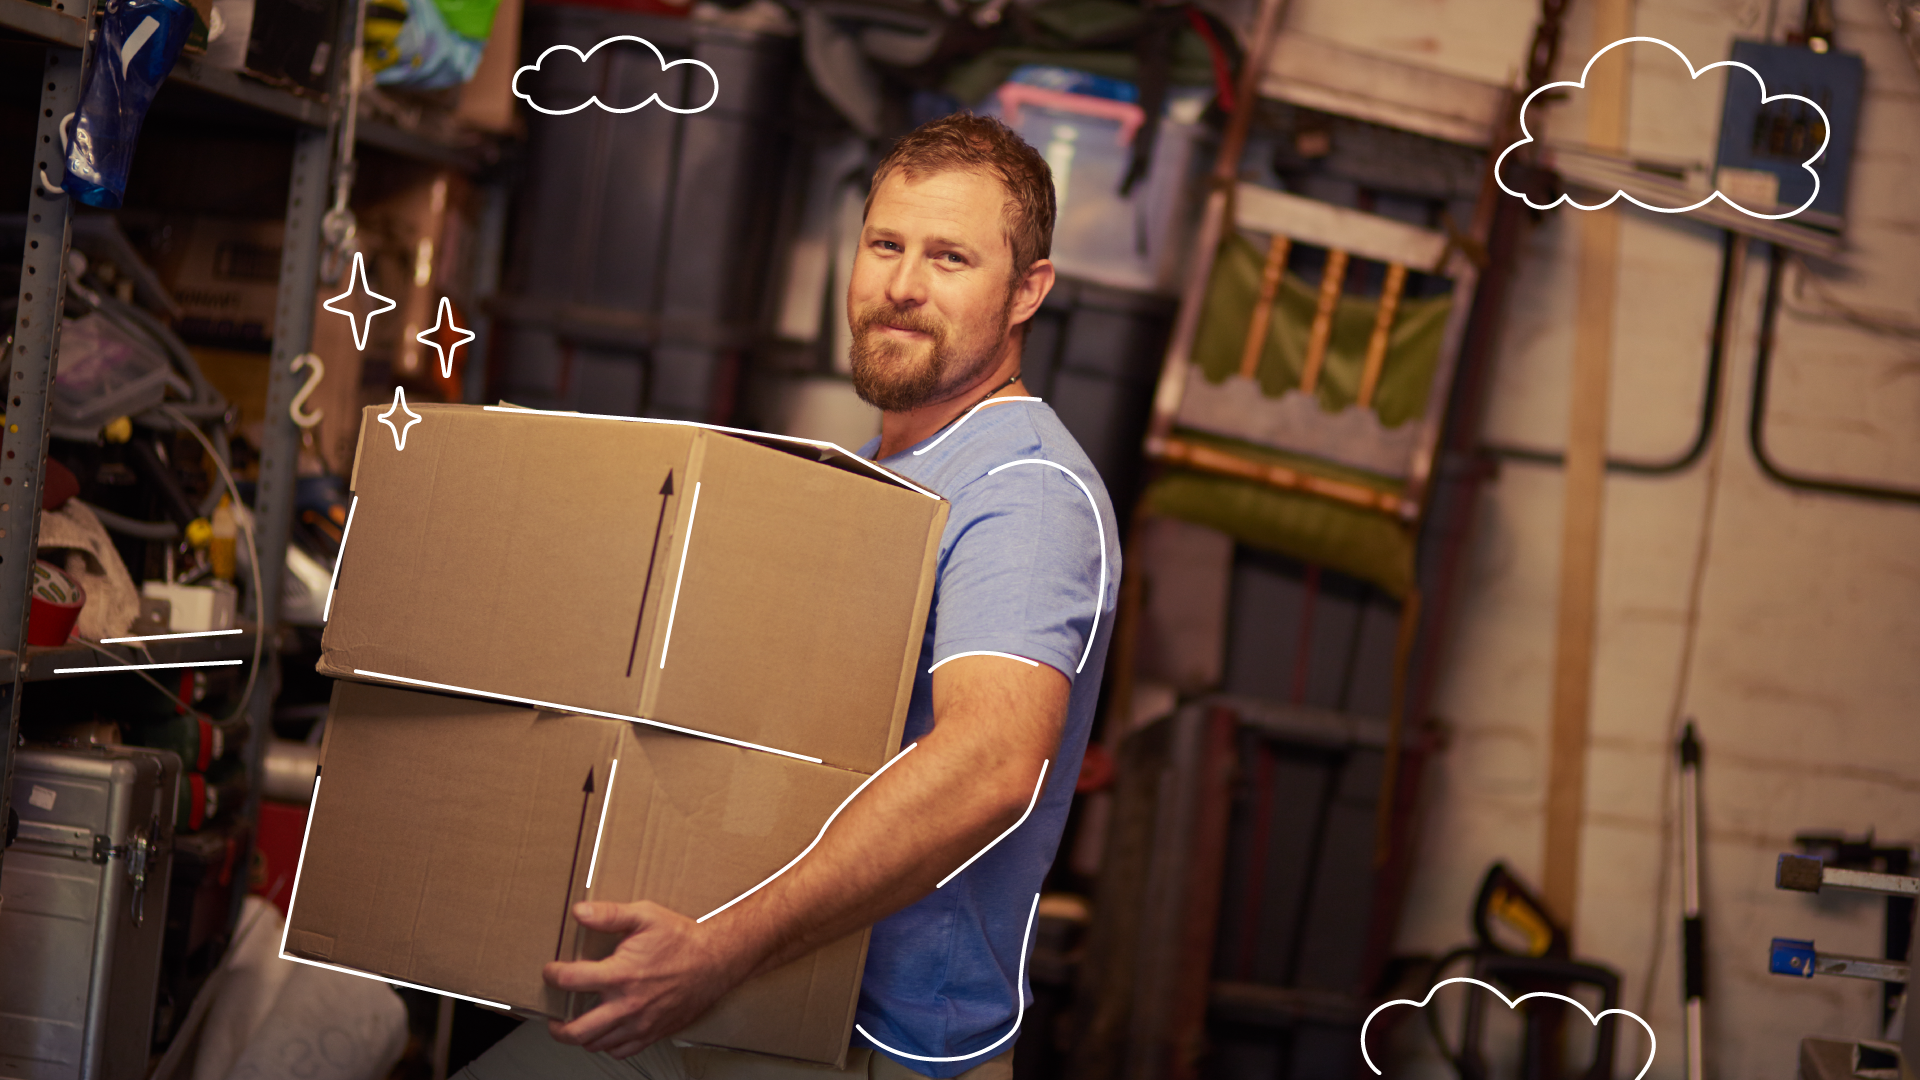
Step 4: Enlist Help
If it’s within your budget, you should consider hiring a moving company or cleaning service to assist you in cleaning out your unit, especially if you’re going to be completely emptying it. Companies such as College Hunks Hauling Junk, LoadUp, or The Junk Luggers are all solid choices to help you sort through your items and throw away anything you can’t keep, sell, or donate–compare some of the best companies here.
However, it’s also worth asking friends and family if they’re available, able, and willing to help you clean out your storage unit. Doing this can help you save money on your cleaning process.
Step 5: Set Aside Items to Sell
There are plenty of items that you can make a little extra money by selling, rather than donating or throwing them away. Collectibles, good-quality furniture, electronics, baby items, and other valuables can be sold on websites such as:
- CraigsList
- Facebook Marketplace
- Etsy
- Bonanza
- OfferUP
- Remoov
Leftover clothes and accessories can be sold on ThredUp or Poshmark.
Step 6: Clean the Unit
When cleaning day finally arrives, make sure you have all your supplies ready and that anything you’ve rented or hired is on site. If you’re working with professionals, let them handle the division of labor; otherwise, divide the job up into smaller tasks and tackle them one by one. Divide up the contents of the unit into things to keep, sell, donate, and throw away.
Step 7: Dispose of Trash
Set aside all your garbage and recycling and dispose of them accordingly. Many storage facilities have on-site dumpsters that you can use to take care of smaller items, but larger waste and recycling will need to be transported to a landfill or recycling facility. Identify any items that aren’t allowed in dumpsters or landfills and set them aside for specialty disposal.
Step 8: Turn Over the Unit
If you’re cleaning out a storage unit because your lease is up and you’re done using it, make sure it’s empty before you do so. Take a picture of the unit and send it to management to prove that you’ve completely cleared it out, and if you’ve provided your own lock, remove it before turning the unit over to the facility once again.
In Conclusion
Organizing or clearing out a cluttered storage unit is an intimidating task, but if you follow the steps we’ve provided, it should be much easier on you and anyone who may be helping you. Make a list, set a timeline, divide the process up into smaller tasks, and consider hiring professional junk removal services if necessary.
You may understand how to clean out a storage unit, but do you know how to pick the right unit for your needs in the first place? SelfStorage.com can help you find storage near you that fits your budget–we also offer personalized help through one-on-one conversations with our in-house experts.